Ah, shellac. You have finally reached this glorious stage in your woodworking project- you know, the one where it is coming to life, and you can finally see your vision shooting out at you boldly. In finishing this part of the project, how many layers of shellac will you need to apply?
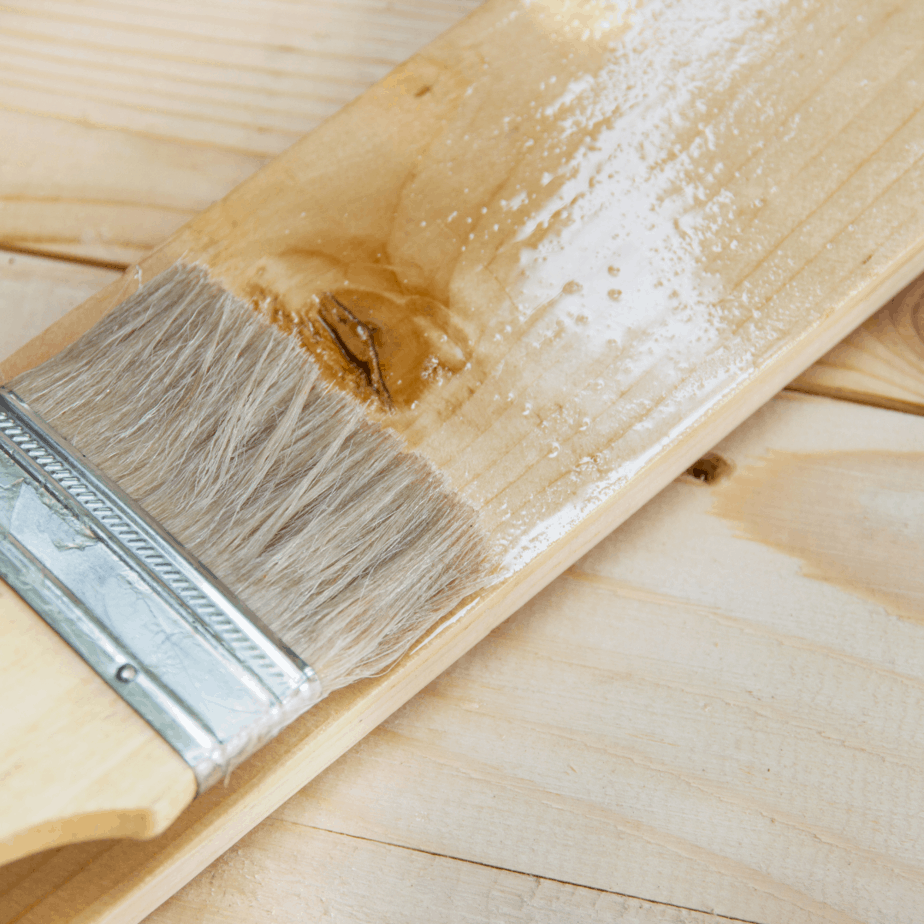
You can put 3-4 layers of shellac on wood to ensure a high-quality seal (layer one), stain (layer 2), and added layers of protection for increased durability (layers 3-4). Apply shellac generously with a brush for edges and smaller spaces or a cotton rag for larger surfaces.
There are many advantages to using shellac on your wood project, and the gorgeous range of colors you can choose from is just one of the added benefits of using this product. Truly, you will be thrilled once you have completed this stage of your woodworking project, as it means you are almost ready to begin using the piece you have been working so hard to create. Let’s take a closer look.
At our Cucamonga Woodworking live online workshops we discuss bend and steaming wood at about the 5 minute mark of this video. You can also check out our other past workshops on Youtube Here(Link to Cucamonga Woodworking)
What is Shellac?
In case you are new to the world of stain, sealant, and shellac when working with wood, you might want to know the differences between them. Specifically, what is shellac, and what can it offer to your wood project?
Shellac is a wood finish applied in multiple layers to enhance the natural wood grain pattern by applying a colored stain. It also acts as a sealant to enhance the wood’s durability.
But, shellac is not as resistant to the elements or standard wear and tear, so it is best to use shellac on pieces that will not be heavily trafficked or left outdoors.
Specifically, even multiple layers of shellac that a non-silicone wax has covered at the end are still susceptible to damage from water (think rain or a spilled glass of liquid at the dinner table), UV rays, and standard wear and tear.
Since shellac does not have the traditional polyurethane or lacquer, it is not known as durable in wear and tear and exposure to the elements. It is still used as a more natural wood finish that enhances the natural grain instead of serving to protect it as densely.
Still, shellac can protect the wood it is applied to from rot and other damage. It is just not quite as “tough” as other types of wood finishes or stains that contain more ingredients geared towards “damage prevention.”
Many people choose to use shellac on wood to add a richness in color that does not take away from the natural beauty of the wood they are using.
For example, if you have paid big bucks for a high-quality piece of wood with a unique grain pattern, you will want some wood finish to show this off, not cover it up. Shellac can do just that.
Plus, it is quick-drying, so it can be applied rather easily than many other types of finishes that take a bit longer to dry. And, since it can be applied with a brush (for edges and smaller spaces) or a cotton rag (for large surfaces), you likely already own the supplies you need, or you can find what you need inexpensively.
What Does Shellac Do For Wood?
Now that you know the basics of what shellac is, you might be wondering what it can do for wood. More specifically, you might be wondering how many layers of shellac you should put on wood for it to serve its purpose.
The first layer of shellac acts to seal any cracks and crevices found in the wood. The second layer adds heightened sealant for some mild elemental protection and allows the wood to be sanded effectively. Additional layers (recommended up to 3-4) add layers of protection and enhance the color.
Check out my article on whether or not you need to sand between layers of shellac(Link Here)
Of course, when the second layer of shellac is applied to wood (and subsequent layers), you will need to keep in mind that shellac is not meant to be used as a sealant in the same capacity that other polyurethane or lacquer sealants are that are water-resistant and prevent UV ray damage.
Instead, the shellac can protect from mild to moderate wear and tear and add rot resistance to the wood.
While shellac can still offer some bit of protection for the wood, it is applied to. It is still recommended to finish the piece with a non-silicone wax for maximum protection.
This can help add protection to your dreams’ woodworking piece and add a nice glossy shine to the craft, thus enhancing the aesthetic appeal even further.
Do You Have to Sand Between Coats of Shellac?
If you have never worked with shellac before, it can be a little bit confusing what the unofficial (and official) rules are for sanding and other requirements. Compared with other types of stains and wood finishes, you might find shellac to be a little bit different- but really, the process is not too complicated.
You can sand between shellac coats if necessary to provide a smooth finish, but it is not typically recommended until at least two layers of shellac have been applied. Then, you can use a fine sandpaper to remove uneven ridges found in the wood gently.
It is recommended to apply shellac as evenly as possible to avoid the need to sand it down. For instance, since shellac is known to dry quickly, so if you pour a large glob of it onto your wood piece and then expect to spread it out evenly, you may find that it begins to dry in some areas before you can rub it in well.
Instead of doing this, you can apply thinner layers and use smaller portions poured out or placed onto your cloth rag when applying the shellac to wood. Again, you want to remember that 3-4 layers of shellac are optimal for wood application to provide the best stain, seal, and protection level.
When you use a brush, be sure to use light, feathering brush strokes to ensure removal of the ridges that paintbrushes themselves can otherwise cause.
Otherwise, you will continue to have to sand down these ridges as you apply more and more shellac layers, which can become a bit cumbersome and pointless. Truly, this can be avoided by using efficient brush strokes and using thinner layers of shellac in the first place.
Finally, it is important to remember that you are sanding between shellac coats to avoid a much larger ridge in the final layer.
If you can catch the ridge earlier on, then the sanding process will be much more efficient, and you can avoid potential damage to larger areas of the shellac that you have applied to the wood.
Do You Sand the Final Coat of Shellac?
Now you know that you need to sand between the shellac layers that you apply (preferably 3-4 layers of shellac as the optimal number to put on wood). What do you do when you reach the final coat of shellac you plan to put on your woodworking masterpiece?
While you do not necessarily have to sand the final coat of shellac on your woodworking piece, it is recommended to sand it down if there are still any remaining uneven ridges. But, you can use more gentle sandpaper or brush for this stage. Even 400-grit sandpaper should work.
Realistically, choosing to sand the final coat or not will be more about how you want the piece to look than it is about how you would like for the additional layers to function. Since you will not be as worried about additional layers of shellac sticking to the wood, it is a little less important in this way.
However, you still want to ensure that the shellac leaves a beautiful wood finish that you will enjoy looking for years to come. One way to ensure this is to apply a wax to the shellac’s final coat on your wooden piece. The wax will help to seal in (or out) anything that can damage the wood, and it can add another layer of protection for the shellac that you have applied.
There are many different types of furniture waxes that you can choose from, but the most recommended types to use with shellac are non-silicone based wax offerings. Some wax types are more natural (like beeswax) that can also keep the wood as natural as possible.
Wax also helps to make the wooden piece more durable and long-lasting as it is often found to be water repellant and can even help prevent minor scratches to your beloved wooden furniture. So, as you apply shellac to your wood, remember to apply 3-4 layers for the most optimal results, and then use a non-silicone wax to finish the project. (Check out some of the current wax prices on Amazon Here)
How Do You Repair a Shellac Finish on Wood?
Once you have applied shellac onto your beautiful wooden masterpiece, you might feel like you are in the clear. But, if your loving nephew is roughhousing and accidentally scratches the wooden furniture and buffs part of the shellac, you might be highly frustrated at the perceived work that it will take to fix this. Fortunately, it is not overly difficult to repair a shellac finish on the wood.
First, apply straight alcohol onto the wooden furniture with a cloth or a pad. Rub until the shellac in the damaged area has been completely stripped. Buff out any noticeable ridges, and begin to reapply the shellac. For any damaged edges, use a fine brush to apply the shellac more precisely.
Truly, it is that easy. Using alcohol basically works like using an eraser to erase the former area of shellac and the damage that caused it. Since many things can cause damage shellac (including rain, the sun, or natural wear and tear), it is nice to know that the repair process is not overly complicated.
Still, for this reason, you might want to keep a detailed record of the brand of shellac that you used on the piece in the first place. Since shellac is not known to have a long shelf-life, you would likely need to repurchase a small bit of the same type of shellac that you originally used.
Finally, be sure to go back over the repaired section with a non-silicone based wax, or you can even apply another polish if you so choose. Just be sure that the same products that were originally used are repeated (or close to it) so that the entire piece matches again.