Applying polyurethane as a reliable finish on your woodworking project is an exciting step. At last, the result is almost ready. To ensure that you achieve the desired results and avoid brush marks on your product, is one type of brush better for application than another?
The best type of brush for applying polyurethane is a 2” wide (disposable) foam brush as there are no bristles to leave behind markings. If using a fine-bristled brush, use an option with synthetic or natural bristles as these are less prone to breaking off and remaining in the wood finish.
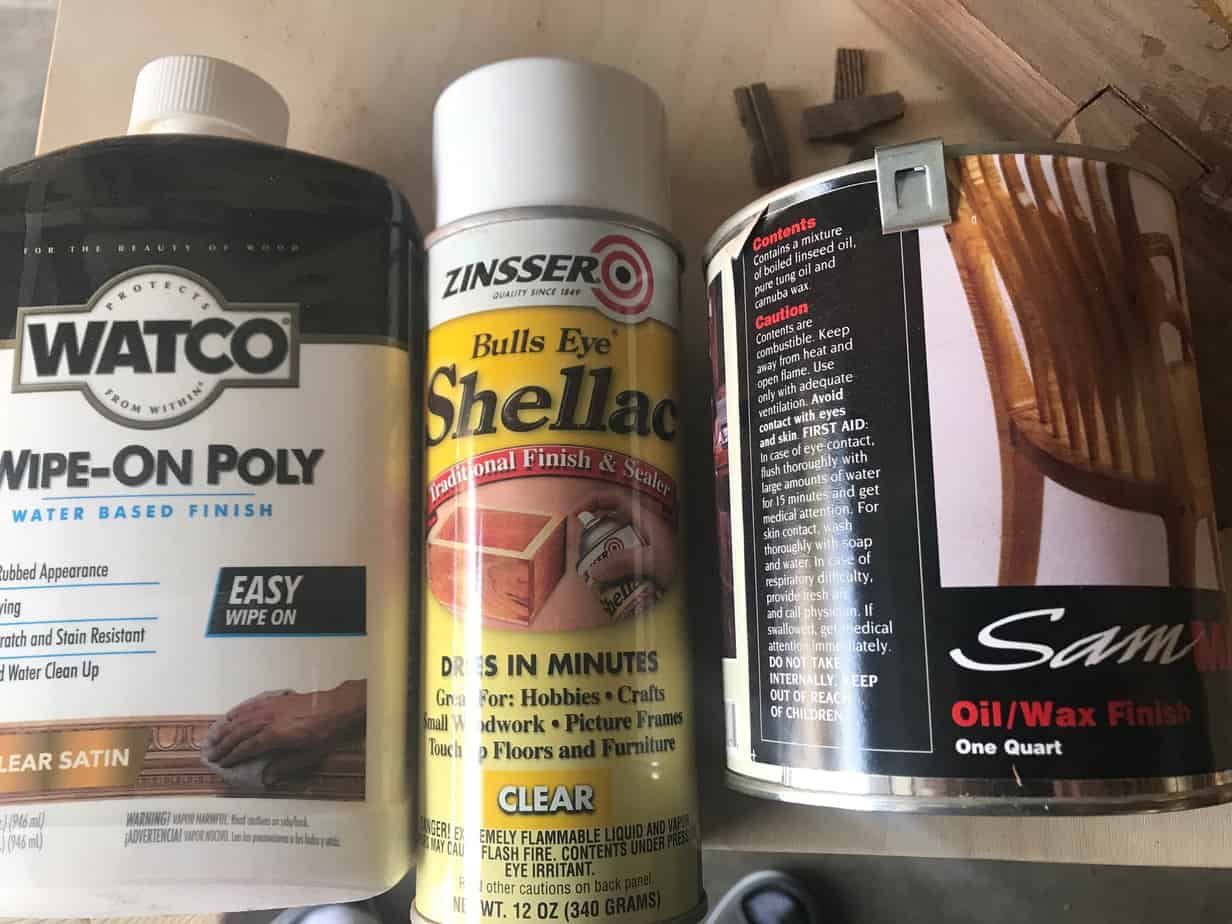
Keep in mind; you can also use a spray or a wipe-on option for applying polyurethane. Using these application methods, you will likely be applying with thinner coats resulting in the need to apply a few more layers. Still, it can depend on the type of piece you are creating to determine the best type of brush for applying polyurethane to your specific project. Let’s take a closer look.
The huge variety of finishes for furniture is one of the subjects we will be diving deeply into during our live online workshops at Cucamonga Woodworking and you can check out our past workshop YouTube videos Here(Link to Cucamonga Woodworking)
How to Apply Polyurethane with a Smooth Finish using a Foam or Fine-Bristled Brush
Not only do you have to choose the right type of finish for your woodworking project, but you need to know how to apply it and what tools will help you to achieve the results you are aiming for. Specifically, when working with polyurethane, you need to choose the best type of brush and what steps to apply it to end up with a smooth finish.
To apply polyurethane with a smooth finish using a foam or fine-bristled brush, consider the following steps:
1. Consider the type of project you are working on.
Taking a look at the unique woodworking project that you are working on might seem like a step that you can pass right by. Still, it is the most critical foundational component to ensure a smooth application of polyurethane on your project.
Polyurethane is increasing in popularity as a wood finish considering its high level of durability and consequent longevity. However, like when applying other types of wood finish, you need to make sure that you apply polyurethane with caution and control.
If you are working on an edge or trim work project inside of your home, for example, you will hit very different angles and have very different needs than if you are applying polyurethane to a beautiful desk that you have just built. Because of this, it is important to take a look at the nooks and crannies that you will be expecting your brush to get into without leaving high levels of markings that have to be sanded down.
This step is to ensure that you work smarter from the start to avoid the painstaking task of cleaning up mistakes that come from not planning out a project well. In taking the time to consider what your specific project needs, you can avoid assuming that one type of brush works best in all scenarios, for example. This can be critical to the results of your final woodworking project.
2. Choose the right brush for the job.
As you take a closer look at the project that you are working on, you will tell if the polyurethane will need to be applied in any crevices or if you will be able to glide it smoothly over the flat surfaces of your woodworking piece. Regardless, you want to ensure that this type of wood finish completely covers your project. Otherwise, the promised level of durability will decrease based on the gaps found in the finish.
That said, there are a few different types of brushes that can be used for applying polyurethane, but the most optimal include disposable foam brushes and natural or synthetic fine-bristled brushes. Ideally, a 2-inch brush will provide you with the efficiency you need to cover your project’s surface while still holding to the integrity required of completing this type of job carefully.
If you are working on a larger project and do not think that the disposable foam brushes will hold up, or if there are many tight curves that you want to use the more narrow edges of your fine-bristled brush, then you can use these options accordingly. You may also use multiple brushes for application in tight spots, but this is not recommended to be the standard application method as you want to consider evenness throughout the entire piece.
If you are working with a wipe-on or a spray polyurethane, you can use a rag or a roller. Still, you will want to apply even thinner layers of polyurethane in this case, and be sure to pay even closer attention to sanding in between the application of additional layers. This will help ensure that your tool’s texture for application does not remain imprinted on the woodworking piece.
3. Apply thin layers of polyurethane.
As stated above, you will want to apply thin layers of polyurethane to ensure a smooth finish, but this is the case whether you are using a foam or fine-bristled brush or if you are using a rag or roller. However, considering a foam or natural/synthetic fine-bristled brush is the ideal option for applying polyurethane, you should note the importance of applying thin layers even when using these types of brushes.
For many projects, applying thin layers will help you to more easily fit into the crevices or any uneven surfaces on your piece. This will allow the polyurethane to bond with the material and seal as it should, helping to protect your woodworking piece for the long haul.
How thin you apply polyurethane to your woodworking project will depend on the type of brush you are using. If you are using a foam or a fine-bristled brush (recommended for applying polyurethane as a wood finish), you should not have to use a thinner before application.
However, if you are using a roller or rag, then it is suggested to use a paint thinner safe to use with polyurethane to create a thinner substance to be applied on. This can help alleviate some of the sanding work that will need to be done between layers, and it can also prevent dripping and build-up that occurs when not using careful strokes with your selected brush.
4. Sand between layers once dried.
Still, regardless of how thin you apply the polyurethane on your woodworking project, you will need to sand between the layers of this wood finish to achieve a smooth finish once completed. You will need to determine the appropriate grit of sandpaper for your unique project to sand between layers.
Then, depending on how intense the sanding job will be, you can choose whether to use a manual application of sandpaper to the ridges left behind or you can use a power tool.
Sanding between layers of polyurethane should not be done until the material is completely dry. How long this takes will depend on how thin the layers of polyurethane are and the type of material to which they were applied.
You can still test this by using a dry brush on a small portion of your project that will not be complete. If any indentations occur, then it is obviously not dry.
Once the layers of dry, you will want to ensure that you sand all the project portions in the initial stages. Then, after your first layer has been completed, you will find that you do not need to sand as vigorously on all areas of the project to achieve a smooth finish. Instead, you can focus on the portions of the piece that have significantly unsmooth surfaces and ridges.
Sanding these down between layers will help your polyurethane to set more evenly and provide a smooth finish on your completed woodworking project- at last. And, of course, be sure to remove all sawdust kicked up by the sanding process before moving on to applying the next layer of polyurethane.
5. Carefully apply the top coat.
Now that you have carefully applied multiple (3-4) layers of polyurethane to your woodworking project using a foam or a high-quality fine-bristled brush, and you have sanded between layers of application, you will find that your project remains pretty smooth. Still, you need to apply the topcoat of polyurethane to finish off the project.
To do so, it is recommended to go at a slower pace than you have been going to ensure that any drips or splotches of polyurethane are not left behind. You should not have too difficult to watch this thin layer even out over your piece, yet, you will want to ensure care as you apply it.
Using the best type of brush for polyurethane application (inexpensive and disposable 2” foam or a high-quality natural fine-bristled brush), your application should be smooth, and your project will be completed before you know it.