Whether or not to sand between coats of shellac has been the subject of much debate online. Researching this topic can feel like reading different chefs’ recipes for the same meal. Everyone has their own special idea of how it should be done, but is it essential when applying shellac?
You do not need to sand between shellac coats, but it can seriously improve the piece’s finish. That is because small imperfections like specks of dust get bigger and bigger every time you add a new coat. Shellac will bond with the coat under it, making one layer. Not sanding can leave you with a lumpy finish.
The answer to this question is far from clear, and different carpenters give wildly different advice. In this piece, we will be looking at the problem in detail to determine whether you need to sand between coats of shellac.
The huge variety of finishes for furniture is one of the subjects we will be diving deeply into during our live online workshops at Cucamonga Woodworking and you can check out our past workshop YouTube videos Here(Link to Cucamonga Woodworking)
When Should You Consider Using Shellac?
Shellac is not a particularly durable finish. It does not do well when exposed to the elements and can even be damaged by the bottom of a hot mug. It is usually reserved for indoor decorative pieces, and the benefits of using shellac include the fact that it is completely non-toxic. In fact, it is still used in the glossy shells of many sweets even today.
Another big benefit of shellac is that it will bond to just about anything you try. That can be very handy if, for example, you want to coat a piece in both an oil-based and water-based finish. While they will not bond well to each other, they will both bind to a coat of shellac in between.
It should be noted that polyurethane stains will not bind to shellac due to the wax content, although you can avoid this by buying dewaxed shellac, which will bond just fine.
Shellac also works very well as a sealant. That means that not only can it make your project more water-resistant, it can also stifle any strong smells coming from the piece. Shellac is also pretty easy to apply and can be re-applied easily if the original finish becomes damaged or faded. It also ages quite well, meaning that it is less likely than some other finishes to become discolored or faded with age.
Cut of Shellac
Shellac can be mixed with denatured alcohol to varying concentrations depending on how thick you want your finish. A pound cut (16 oz) refers to the number of pounds of shellac flakes that you add to a gallon of denatured alcohol.
For example, if you wanted to make a 1 pound (16 oz) cut using a gallon of alcohol, you would add 1 pound (16 oz) of shellac flakes, giving you a thin mixture. Putting three pounds (48 oz) of shellac into a gallon of alcohol gives you a thick 3-pound (48 oz) cut.
How thick a mixture you want will depend on what you need it for. A 3-pound (48 oz) cut, for example, is generally used for the priming or sealing of stains. It is often easier to apply several thin coats of shellac than a few thick ones. That is because thick mixtures of shellac will show brush marks more easily than thin ones. Lots of layers of a thin cut will give you a smoother and glossier finish.
Why Sand Between Coats?
Unlike some finishes, you do not need to sand shellac between coats to ensure adhesion. As you add each shellac layer, it burns into the previous layer, creating one solid mass.
That is because shellac is an evaporative coating, which means that the alcohol evaporates off as the solvent. It causes the shellac itself to stick together into a solid mass. When you add more solvent, the previous layer softens and merges with the new layer.
So why should you sand between coats then? Imagine you put down the first coat of shellac, only to notice a speck of dirt stuck in the finish. Unless you remove that tiny bump, each layer of shellac you add will exaggerate the bump, making it larger and larger with each coat.
The best way to get a smooth finish is to remove the tiny defects before they have snowballed into something larger and more difficult to get rid of.
How Long Do You Have to Wait Between Coats?
How quickly shellac dries will depend on both the ventilation and temperature in your workshop. With the right ventilation and temperature, it can be completely dry in as little as 30 minutes. It is best, however, to err on the side of caution.
It is recommended to wait about 4 hours between coats to allow the shellac to dry and settle properly. Applying the next coat too early can seriously affect the quality of the finish.
When it comes to sanding between coats, if the shellac is not dry enough, it will clog the sandpaper and feel tacky to sand. If the shellac is dry enough, it should produce a fine powder when it is sanded. Remember to remove this powder with a tack cloth before applying the next coat since the residue can snowball into large defects, as described above.
How to Apply Shellac
Hopefully, you already know how to apply shellac-based on what we have already discussed, but it is worth going into the process in a little more detail. It is important to note that you should get the surface as smooth as possible before applying shellac for a reason described above. If you are touching up the surface, you should remove any oils or finishes from the wood before applying the shellac.
Here are the steps on how to apply shellac:
- Once your surface is smooth and sanded, it is time to mix the shellac to the consistency you are looking for. A 2-pound (32 oz) cut (2 pounds (32 oz) of shellac flakes to 1 gallon of alcohol) is probably right for a first coat, especially if you are a beginner. It is worth checking for your specific project, whether a thinner or thicker cut is recommended.
- Next, pour some of the shellac into a separate container to avoid contaminating the main supply with sawdust. Dip your brush or pad into the shellac mix, making sure not to take too much or too little. It is a good idea to shake or scrape the excess off the brush gently.
- Apply the shellac by gently brushing it along the grain of the wood in long, smooth brushstrokes. You have to work pretty quickly during this step since the shellac may start to dry out while still working on a certain area.
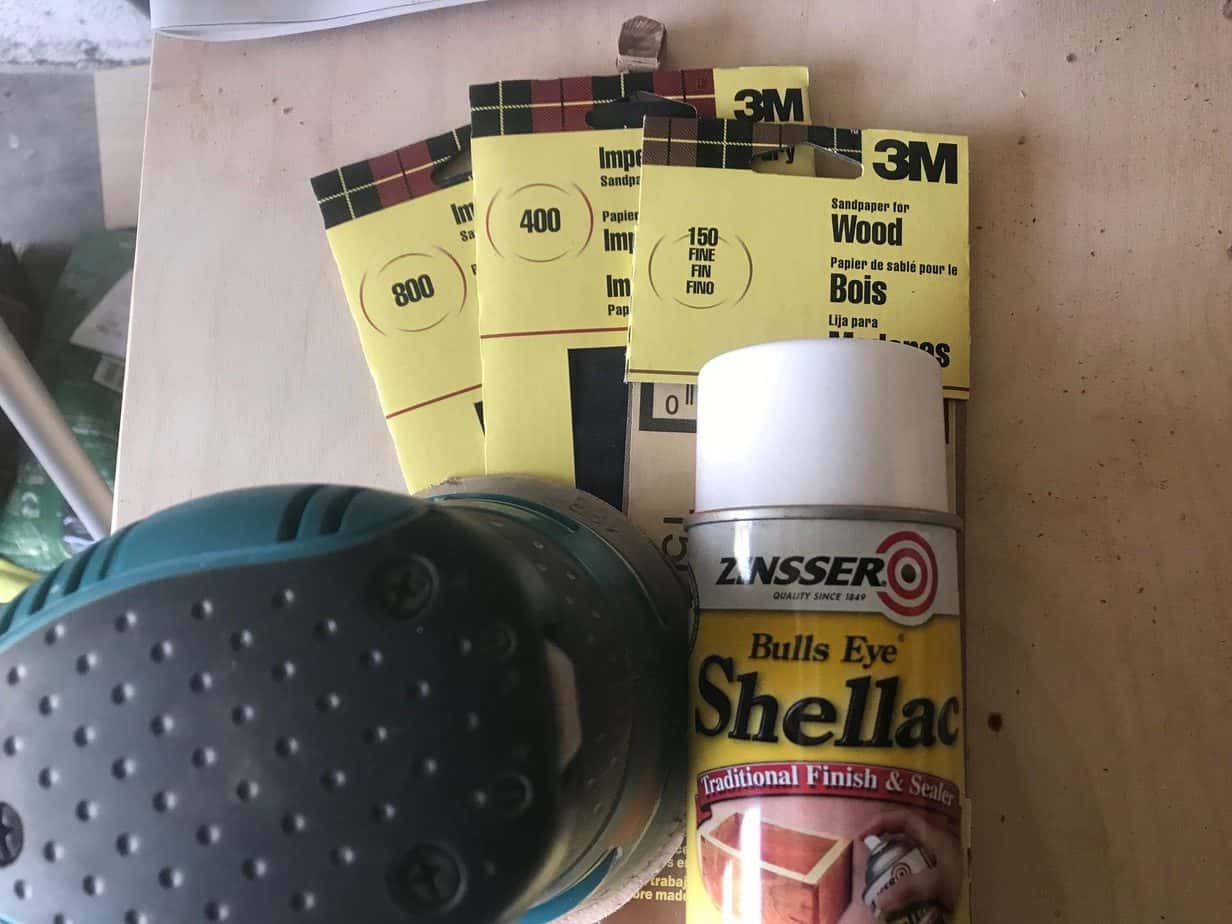
- After about 4 hours, gently sand the coat with 300 or 400 grit sandpaper before applying the next coat. It is important not to sand against the grain if you are using abrasive paper, as this might show up on the finished product.
- If you do not want the piece to look glossy, you can gently buff out the final coat with some 0000 steel wool to remove the sheen.
Recommended Tools(Links go to Amazon.com)
Shellac: Rust-Oleum Zinsser 304H 1-Quart Bulls Eye Clear Shellac
Steel Wool: Red Devil 0310 Steel Wool, 0000 Super Fine (Pack of 16)
Conclusion
While some carpenters disagree about whether or not it is a good idea to sand between shellac coats, the consensus is that it gives you a much smoother finish. While it does not help with adhesion, doing this prevents small imperfections from snowballing into unsightly blemishes.
Hopefully, this has helped you to understand why sanding between coats of shellac is a good idea.