Sealing off and finishing the woodworking project you have been working on for days- or even weeks- can be a glorious feeling. Finally, the resulting product will be completed. But, when deciding between lacquer and shellac, can you use both?
You can apply lacquer over shellac for a more durable, alcohol and water-resistant finish. Use dewaxed shellac to help the lacquer bind to the shellac. If you use regular shellac, then you will have to remove the wax first. Sand the shellac, and then apply the lacquer for a smooth finish.
Since everyone has their own preferences, it can come down to what will work best for your unique woodworking project. Trust me; I have seen this done both ways successfully- with shellac as a finish alone or with lacquer applied over it. Personally, I like to use lacquer over shellac on most woodworking projects because of the enhanced durability- although this is not required on all pieces. To understand a bit more about this, let’s take a closer look.
The huge variety of finishes for furniture is one of the subjects we will be diving deeply into during our live online workshops at Cucamonga Woodworking and you can check out our past workshop YouTube videos Here(Link to Cucamonga Woodworking)
What is the Difference between Lacquer and Shellac?
Before you decide if applying lacquer over your shellac finish is the right choice for your unique woodworking project, it can help you understand the difference between the two products. You can then have a better understanding of when you would choose one over the other or apply both.
While shellac provides a richer shine and comes in various color tones, it does not have the same water resistance and durability that lacquer does. Alternatively, lacquer does not come in color variations but enriches the natural wood tone. Fortunately, you can apply lacquer over shellac to gain the benefits of both.
Although there are quite a few differences between the chemical makeup of lacquer and shellac, these are the basics. The most important part of knowing whether lacquer can be applied over shellac comes down to the different uses between the two products.
Fortunately, these are two of the most common finishing products that are applied to most woodworking pieces. It all comes back to the goal of the woodworker and the intention of the woodworking piece.
Since lacquer is the more durable finish known to heed better water resistance (and certainly alcohol resistance), it is often selected as the finish for products that will see a lot of wear and tear and exposure to water (such as a dining room table).
Still, shellac can be perfectly acceptable if the woodworking craft you are completing will not see a lot of water. Many woodworkers prefer shellac for the artistic spin it can give to their woodworking pieces. Since various color tones can be selected, this can enhance the natural wood grain found in the piece by adding a unique twist to the design.
The difference between shellac and lacquer ultimately comes down to the thinner applied in the products’ makeup. So, when choosing which finishing product to use, you should consider the intended use of the woodworking piece you are creating.
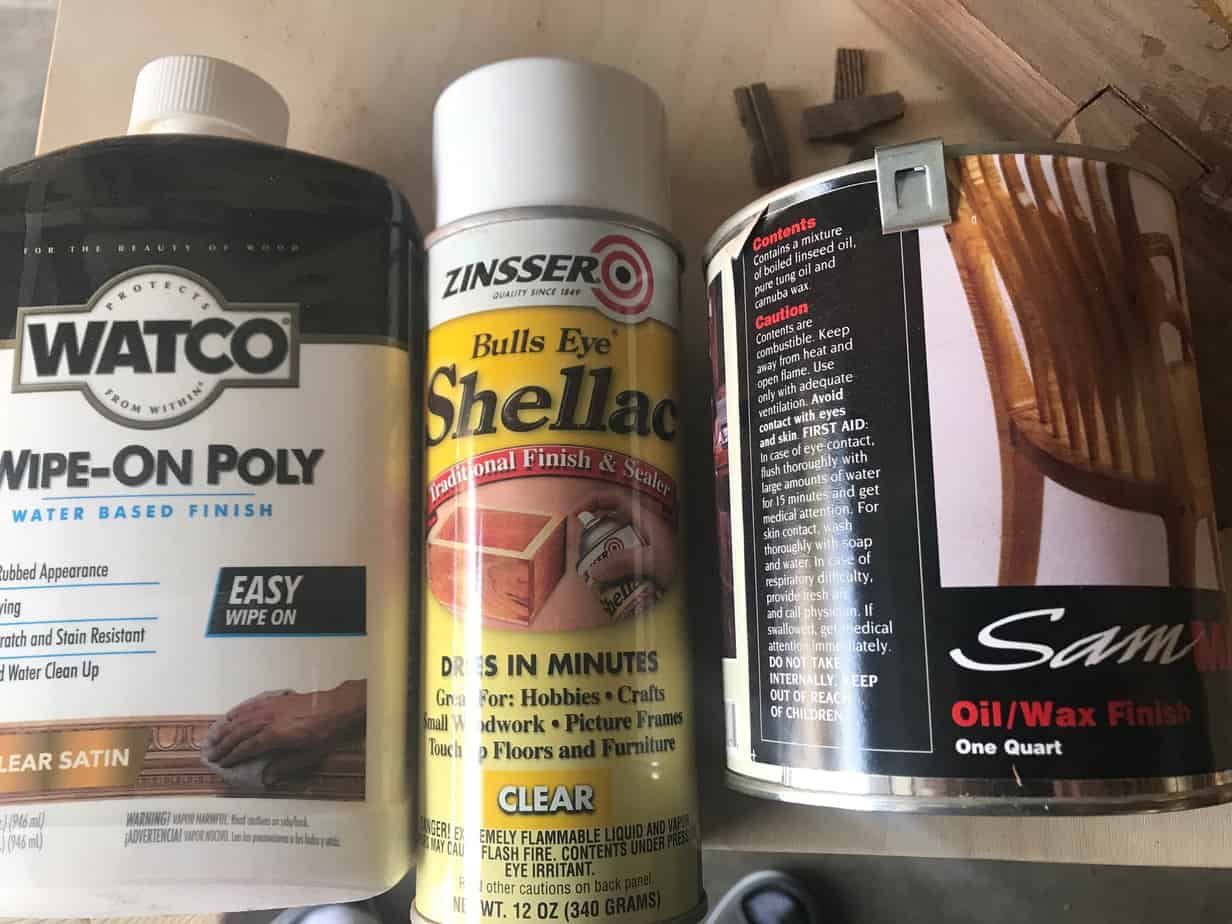
I prefer the standard can of shellac because I don’t have the time to deal with shellac flakes at the moment. Amazon has the one I typically use here: Rust-Oleum Zinsser 304H 1-Quart Bulls Eye Clear Shellac.
My go-to lacquer is the Mohawk brand with this one from Amazon a good example: Mohawk Finishing Products M102-0540 Mohawk Finisher’s Choice Clear Gloss Lacquer, 13 Oz
How to Apply Lacquer Over Shellac
If you are certain that you would like to gain the benefits of both shellac and lacquer on your woodworking piece, you are not alone. Many experienced woodworkers prefer this method because the two finishes can give to their woodworking projects.
While the initial (dewaxed) shellac is applied to provide a nice shine and enhanced coloration to the woodworking piece, the lacquer applied over it can give it the final durability enhancement that it needs to be a long-lasting product.
This is not required on all woodworking pieces, but it can certainly provide you with peace of mind. Your hard work and dedication that it took to create the woodworking piece you are designing will not be for naught- it will truly be sealed, protected, and finished for pickup.
So, without further adieu, let’s take a closer look at how to apply lacquer over shellac so that you can get on with finishing your perfect woodworking project.
To complete this, consider the following steps:
Select dewaxed shellac.
While some experienced woodworkers will tell you that you can use regular shellac, most will tell you to find dewaxed shellac when applying lacquer over top of it. The dewaxed shellac will allow for a more complete and smooth seal to be possible with the lacquer’s application.
If you have already used non-dewaxed shellac, though, do not worry. Your efforts will not be hindered too terribly- this will add another step to your process. If you use non-dewaxed shellac on your woodworking piece, you will likely want to use a de-waxer before applying the lacquer. In essence, the de-waxer will seal in the wax found on the shellac, so this coat will not inhibit the lacquer’s application.
Apply the shellac to your project.
Once you have chosen your dewaxed shellac, you can begin to apply it to your woodworking project. Fortunately, the shellac application does not have to be done as carefully, considering you can sand away any imperfections. Because of this, you can apply the shellac in a relatively quick manner.
Preferably, you will apply thinner layers to your woodworking piece. This will help in the drying process to sand the imperfections away, apply another coat of shellac, and move on with completing your woodworking project. Be aware that the more layers of shellac that you add, the richer the color is going to be– so be sure that you use a color variation of shellac that you will like in the end.
Use 1-3 layers of shellac with 2 layers as the ideal.
Again, you will apply thinner layers of shellac to your woodworking piece, sanding between each layer. However, you do not want to add too many layers or hinder your product’s overall design. It is best to apply 1-3 layers of shellac, keeping 2 layers as the goal with this in mind.
If you find that you are not satisfied with the application of the shellac, do not worry. Since you are planning on applying lacquer over it anyway, the shellac is really just there for the shine and coloration that it will provide underneath the lacquer. Still, aim for only a few layers to keep it more durable, tightly sealed, and beautiful.
Sand between layers of shellac.
Now that you have applied a shellac layer, you will need to make sure that it is completely dry before moving onto your next step. Still, as mentioned above, the benefit of sanding the project is that you do not have to apply the shellac correctly. Sanding will get rid of any imperfections such as ridges and bumps left by your paintbrush.
To sand the layers of shellac on your woodworking project, it is best to use a sander if at all possible. Using sandpaper and your fingers can apply ridges in the shellac from where your fingers press down- although this will be highly subtle and not too noticeable if you are used to sanding projects.
The recommended sanding specifications for shellac on your woodworking projects are grits ranging between 220 and 330. If you are unsure of what you would like to use on your project, you should test this out on a portion of your project that will not be visible if you are not satisfied with the results.
Carefully apply the lacquer over the shellac.
Once the top layer of shellac has dried and been sanded, it is time to apply the lacquer over the shellac. This should be done much more carefully than the shellac’s application since it will be the completed layer. Of course, you can always try to smooth out these layers, but it is much more useful to be careful from the start.
To apply the lacquer over the shellac, you will use it like you would on the bare wood. Smoothing it out carefully, you will notice an enhanced coloration even though it is not a rich color tone. This will help notice where the lacquer has been applied (or not). Using this in a thin layer is recommended, so if you need to apply multiple layers, you can go back over it.
Once dried, your product has been completed.
Once you have allowed the lacquer to dry on your woodworking project, your resulting product should be completed. You will reap the benefits of the beautiful color and shine that the shellac adds to the piece from underneath the lacquer, but the lacquer on top will seal the deal with durability and a long-lasting product. Now, it is time to revel in the success and beauty of a completed woodworking project.