Wood putty is an excellent product for fixing minor issues. Buying the right wood putty and using it correctly, however, can be tricky. A lot of us make basic mistakes and end up wondering why their wood putty is not drying.
The majority of Wood putties are oil-based and will only dry or cure to a specific viscosity level while remaining pliable. This is due to the oil base that allows it to be water-resistant and not dry out when applied to products outdoors. Different wood putties use different types of oil, which has a direct correlation to the curing period. There are also wood putties that are not oil-based, which may also be the cause.
Woodworking and carpenter work can be challenging but satisfying. Wood putties give you a bit more freedom when working with difficult woods or just starting out. Although it might seem a simple procedure, DIYers and woodworkers alike sometimes find using wood putty to be a frustrating experience. Below we will discuss why your wood putty is not drying, different types of wood putty, along with the correct way to apply wood putty and alternatives to wood putty.
The huge variety of finishes for furniture is one of the subjects we will be diving deeply into during our live online workshops at Cucamonga Woodworking and you can check out our past workshop YouTube videos Here(Link to Cucamonga Woodworking)
Different types of wood putty
As stated above, there are different types of oil-based wood putties and other based wood putties. Read on to discover the different kinds of wood putties and where to use which ones.
Cellulose Based Wood Putty
Cellulose-based wood putty comes in three different forms, the dry formula type, the solvent-type, and the water-based soluble type. Each has its own uses and characteristics listed below.
- The dry formula wood putty has to be mixed with water to become putty-like. It is inexpensive and has a long shelf life. It is easy to apply but takes a while to cure or dry.
- The solvent-type wood putty comes premixed with oil or ketones to help it dry quicker. This, however, makes it flammable when uncured, and it will emit fumes. This type of wood putty needs to be stored in an airtight container to avoid it hardening and or drying out.
- Water-based soluble wood putty has a uniquely watery viscosity and will clean up easily with water. It is not suited for damp environments as the putty will become loose. Water-based soluble wood putty is safe to store inside your home and does not emit fumes.
Gypsum Based Wood Putty
Gypsum-based wood putty is composed of mineral powders that you mix together with water to activate. Gypsum-based wood putty does not shrink or pull away from the edge of the area where you apply it.
Gypsum-based wood putty expands as it dries, making this a tricky wood putty to use. It is recommended not to use this wood putty on outdoor projects as it will pop out of the applied area as the wood expands or contracts. This is one of the few wood putties that you can stain, seal, varnish, or paint over.
Vinyl Wood Putty
Vinyl wood putty is our last one. It should be used in small, moderate amounts as it may crack as it dries. This means you should apply a thin layer, wait until it dries, and then apply a second layer.
However, usually, this is not needed as vinyl wood putty is only used for surface scratches and cracks. Some other drawbacks of vinyl wood putty include shrinkage after application, not being stainable or taking varnish, and vinyl wood putty can only be sanded to a rough finish.
Reasons wood putty is not drying
Below we will list a few reasons why your wood putty is not curing or drying. Remember that depending on the brand, the putty’s oil base, and the wood you are applying the putty on, curing times may differ substantially.
The wood is not treated.
This happens to a lot of novice DIYers and hobbyists. Applying wood putty to wood that has not been sealed, varnished, or treated similarly, will have undesired results.
This can range from the wood putty not drying because of moisture left in the wood, the wood being damaged because of the chemicals in the wood putty to the wood putty simply not adhering to the wood. All of these are signs that you have not treated the wood correctly before using your wood putty.
The wood putty did not cure or dry correctly.
A fact about most oil-based wood putties is that they take notoriously long to dry or cure. Most wood putty products contain a hardener of some sort that allows it to dry or cure.
Depending on brand or type, as we discussed, the curing takes longer. We advise carefully studying and researching the brand and type of wood putty and allowing extra time for it to dry or cure.
Your wood putty has expired.
This seems like an obvious mistake to make, but not too many people realize that wood putty products can expire. To prevent this, look at the expiration date or ask about it at your hardware store before purchase.
Some wood putty products also spoil easier than others, so it is worth researching before purchase and use. A clear sign of expired wood putty is a cracked or dry, dusty texture before application.
The product should be pliable or clay-like when scooped from the container. Wood putties that require mixing or activation through water or solubles tend to last a bit longer when stored properly.
How to apply wood putty
Applying wood putty is a simple process. However, if done incorrectly can have less than desirable results. The type of wood putty also plays a significant role here to determine how you apply it.
For now, we will assume that you are using an oil-based wood putty as these are the most common and generally the easiest to use.
To apply oil-based wood putty:
- Use a putty knife to scoop out the desired amount of wood putty and smear it into the damaged area.
- Make sure to apply an even amount, so it fills the damaged area to the brim.
- Not too much, or the area will bulge and look uneven.
- Use the putty knife to sculpt the precise dimensions of the applied wood putty to your preferred shape.
- For oil-based wood putty, sanding is not recommended. A small amount goes a long way.
Alternatives to wood putty
Wood putty can be a lifesaver in the right circumstances. However, there are products out there that can be just as good if not better suited for your wood repair purposes. Below we will list some alternatives and when to use them for the best results.
Wood Filler
Wood filler and wood putty are often mistaken for the same thing when there are some fundamental differences. Wood filler is best used on untreated wood for everything from cosmetic to structural repairs, depending on the product and your requirements.
The most common wood filler is used to cover unsightly drill holes or small openings. Wood filler can be bought at most hardware stores or homemade with a combination of sawdust and white glue.
This can be useful if you want to match the wood’s color and texture you are repairing. Most wood fillers should be treated or varnished for the best results.
Two-Part Wood Filler
Two-part wood fillers are chemical-based wood fillers that work best when applied in two parts called A and B. Two-part wood fillers typically are composed of a mixture of wood pulp and polyester.
- Part A of the wood filler mixture is applied in the first coat to fill the damaged area and left to dry or cure.
- Part B is used after the wood filler has dried to seal, harden, and strengthen part A’s mixture.
When the combined mixture has dried and cured, it can hold nails and even screws. Two-part wood fillers can be painted over, stained and varnished for the desired results.
Wood Bondo
Wood Bondo is a relatively new product that carpenters and woodworkers alike swear by. It is composed of a wood putty-like substance that contains a premixture of wood-hardener.
Because of its versatility and hardening abilities, it is suitable for both indoor and outdoor use. There are different types of Wood Bondo, but the most common version is easily applied to the damaged area and quick-drying.
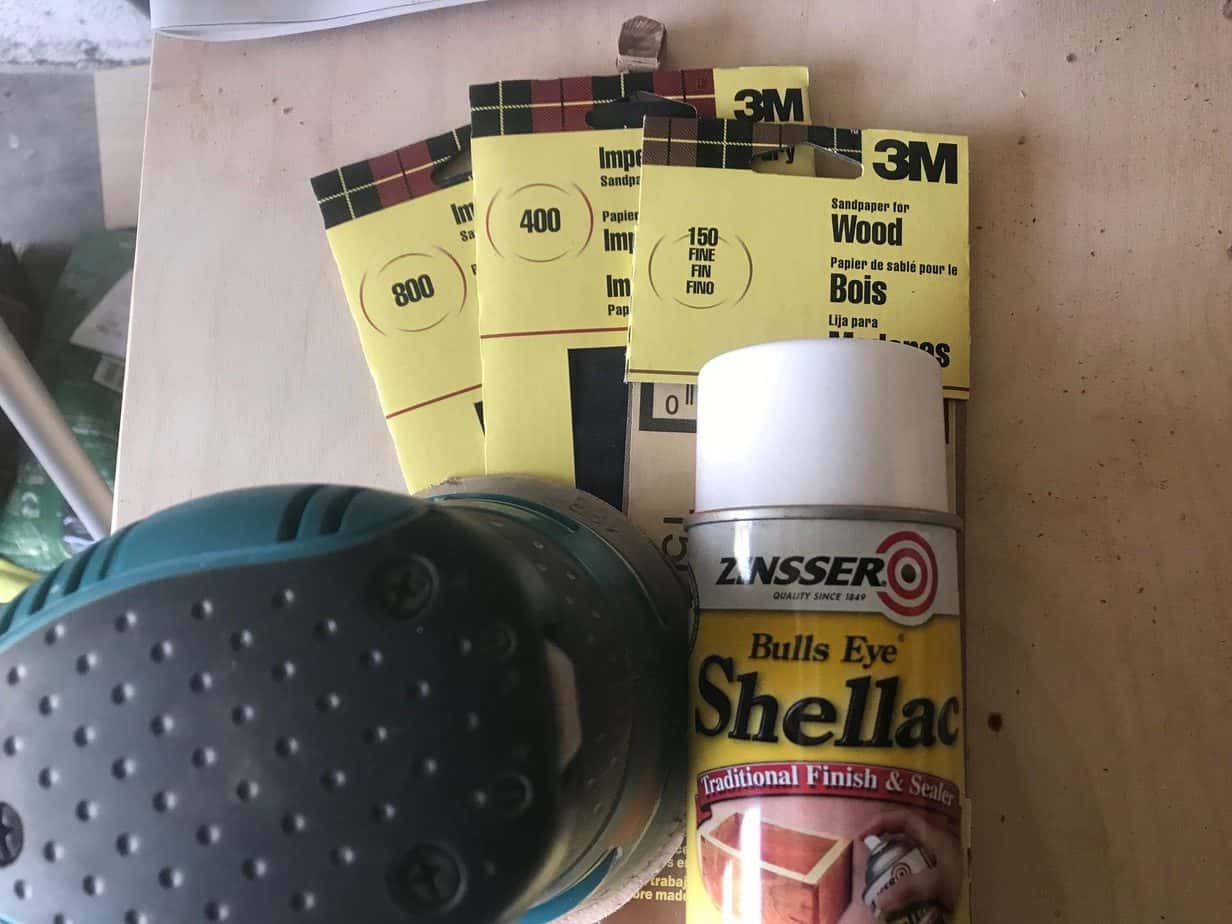
We are talking 10-15 minutes, so work quickly using a putty knife to apply it. After it has dried, sand it to your preference, first with 100 grit sandpaper and next with 200 grit. After sanding the Wood Bondo, you can paint it or varnish it to your desire.
Conclusion
Wood putty that does not dry can be frustrating and time-consuming. You should have no problems with your wood putty or wood repairs by following the tips, tricks, and advice above. If, however, you get stuck, remember to reach out to your local hardware stores for professional advice and product recommendations.