Picture frame joints look simple and stylish but can be complex to construct. The type of joint you choose determines the sturdiness of a picture frame.
A miter joint is the best type of joint to use for a picture frame, especially if you want to hide the board’s end grains. Also, this type of joint is decorative, making it ideal for picture frames. Other types of joints that you can use for a picture frame include pocket screws, half lap, and bridle joints.
It takes skill and practice to construct a perfect picture frame. It is essential to understand that your frame’s sturdiness depends on the type of wood and joint you use. Also, the joint you use will determine the overall appearance of the picture frame.
Best Joint for a Picture Frame
Making your picture frames is cost-effective. It also makes you appreciate the process and details that go into constructing a perfect picture frame. Each type of frame joint is unique in its design and fitting. Remember, you may need special equipment to construct some joints.
When constructing a joint for your picture frame, a lot of trial and error goes into ensuring the 45-degree angles fit together. Once the angles are accurately cut, joining them is easy and fast. You may use four types of joints for your picture frame, including miter, pocket screw, half lap, and bridle joints.
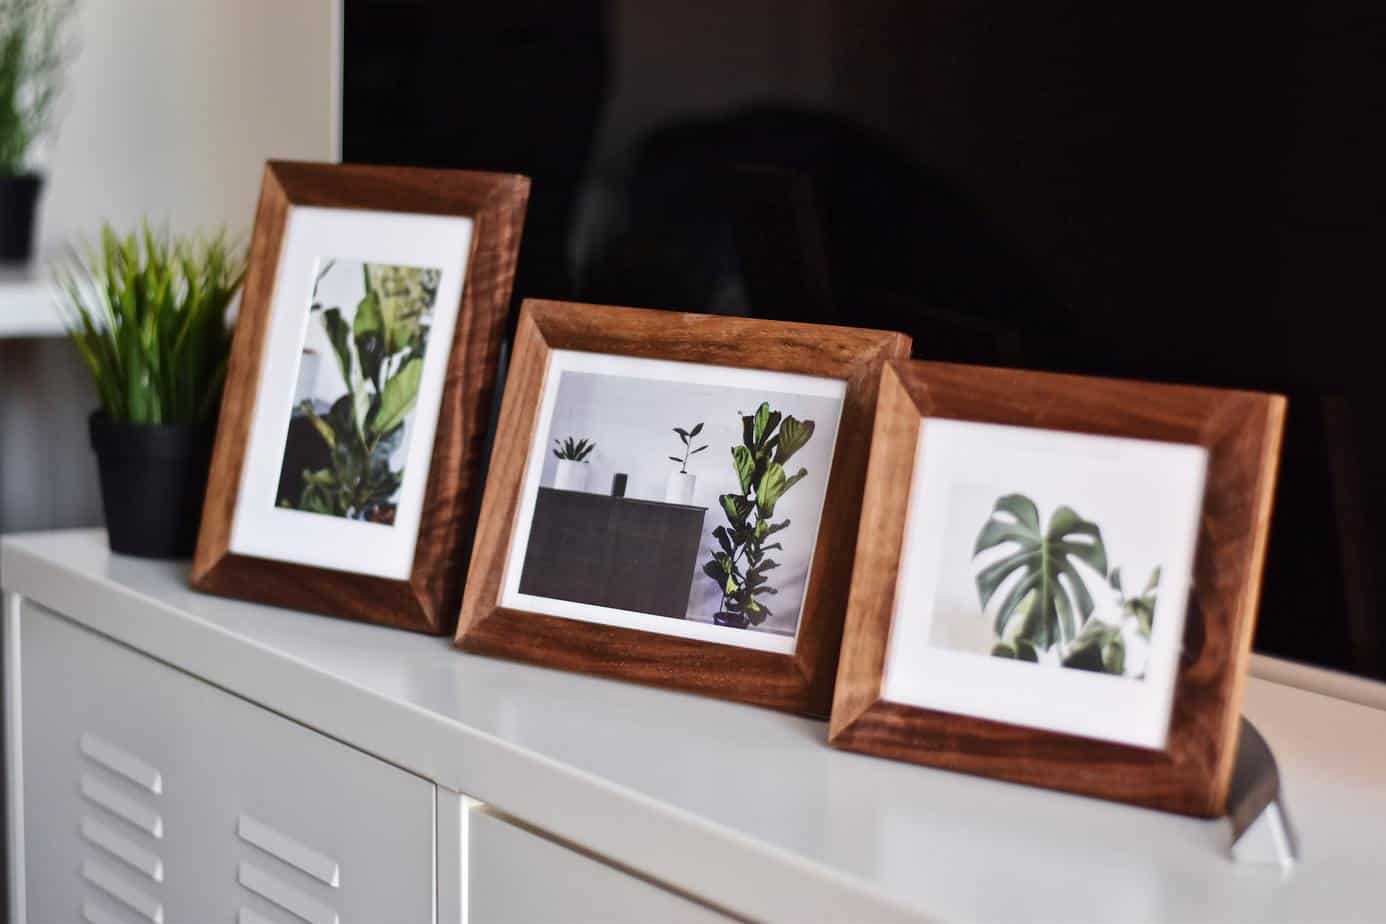
Mitered Joints
Miter joints are the standard joints for most professional picture frames. These joints help you achieve sturdy and stylish frames. This type of joint is sturdy because it features half-lap joints. The joints are cut at a 45-degree angle to provide a seamless finish once joined.
A downside of miter joints is that they may not remain strong for long. Therefore, a miter joint might requires extra reinforcement to maintain frame integrity. Also, miter joints can be quite difficult to construct. Each of the eight joining faces must be cut at an accurate 45-degree angle, which means the entire frame will not fit right if one or two joints misalign.
How to Make a Mitered Joint
Picture frames use ¼-inch miter joints. The secret to achieving a perfect mitered joint is using frames of equal length.
Miter joints are made with a miter saw and a handheld router. Consider creating a wooden auxiliary fence to guide your saw as you cut to achieve cleaner and smoother cuts.
To create an auxiliary fence, join two plywood pieces at a 90-degree angle and secure them together using screws. Ensure the screws are on the outside to prevent obstructing the saw as it cuts.
Adjust your saw 45 degrees and cut through the auxiliary fence. You have created a 45-degree path that will be used to cut the frames.
First, test the accuracy of the saw using a blank piece of wood. Cut your frames if the two pieces of wood join perfectly at a 45-degree angle.
Use a ⅜ inch-rabbeting bit on the handheld router to make rabbets on the frames. First, make a half-cut with the router to create a clear working path. Next, adjust the router to its full ⅜ inch and cut the full rabbet. Use tape to join the corners of the frame and hold the pieces together as you glue them.
Once the glue sets, the frame joints will need reinforcement. Corrugated fasteners are one way to reinforce a miter joint. Alternatively, drill pocket screws into the joints for reinforcement.
Pocket Screw Joints
Pocket screw joints make tight and sturdy frame joints. Many people use this type of joint when they want to hide the screw heads to create a seamless joint design.
On the downside, pocket screw joints have mechanical shortcomings. A pocket screw joint can crack easily if you accidentally drop the frame. Also, this joint makes weak end grains for frames. Therefore, pocket screw joints are ideal for heavier and sturdier wooden frames.
How to Make a Pocket Screw Joint
You need a pocket hole jig and a drill bit to make this joint. The pocket hole jig typically features two holes slanted at a 15-degree angle. The Kreg pocket hole system makes this drilling a lot easier. You can check the current price here on Amazon: Kreg K4 Pocket HoleJig System (K4 Jig)
Clamp the wood on the pocket hole jig and then drill the jig holes to create the pocket hole joints. Drill bits come with stop collars to limit the depth of the pocket hole. Choose the right drill bit size to create the pocket screw hole depth you want.
Once the holes are properly drilled, join the frames with a drill and pocket hole screws. Again, choose screws that fit the pocket holes and will hold the two frame faces together.
Pocket holes are made on the rear side of the frame that will not be seen. But if the picture frame will be visible on both sides, use pocket hole plugs and glue to hide the holes.
Bridle Joints
Bridle joints make classy and robust frames. They are also the best joints for stylish curved frames. A bridle joint has more surface area for glue to hold on to. This makes them the strongest frame joints for picture frames.
Making a bridle joint requires skill and practice. It also takes patience and precision to execute a bridle joint successfully. Simple hand tools can create a bridle joint, albeit it will take more time. For quicker results, consider investing in advanced equipment such as a table saw and aftermarket accessories.
How to Make Bridle Joints
First, determine the angles you want to cut. Picture frames can use 90-degree or 45-degree bridle joints. A 45-degree bridle joint requires more practice to perfect. Once you decide the angle to cut, create a paper template with drawings of the angles. The template provides measurements for the exact points where the table saw will cut.
With the angles determined, raise the cutting blade to the exact height as the marked angles. Clamp the wood firmly and cut through the wood to create the angles. The next step involves cutting a mortise (hole) on one wood and a tenon (projection) on the other. Apply glue to the tenon before joining it to the mortise. For the results, use a tenoning jig to cut the mortise and tenon on the wood.
Half-Lap Joints
Half-lap joints are the easiest picture frame joints to create. Simple hand tools are enough to create half-lap joints. This type of picture frame joint is suitable for joining grain-to-grain frames.
Half-lap joints are more resistant to diagonal fame distortion. They are also versatile as they can be used to join wood, metal, and plastic.
How to Make a Half-Lap Joint
Half lap joints are made with a dado blade and a table saw. Alternatively, you may use a hand saw and wood frame to cut a half-lap joint.
Measure the width of your frame to determine how deep to cut. Be sure to measure from the endpoint of the wood towards where the blade will end to create a straight line. Using the line, make two diagonal lines from both ends of the vertical line towards the wood’s endpoints. The midpoint of the wood frame is where the diagonal lines intersect.
Make a straight line from the vertical line through the midpoint to the end of your frame. Set your saw to the height of the midline. With the wood clamped, cut through with a table saw or hand saw. Be careful not to cut beyond the midpoint. Do the same with the other joining piece.
Be sure to sand down the cut surfaces to create a smooth joining surface. Test if the two pieces merge seamlessly. Once the two wood frames fit perfectly, apply glue on the cut surfaces. Join the surfaces and hold them together using a clamp. Wipe any glue that bleeds out for a cleaner finish.
Conclusion
Picture frames can be made using pocket screws, bridle joints, half-lap, or mitered joints. However, many people prefer to use mitered joints on picture frames because they are sturdy and appealing.
References
https://www.diydata.com/techniques/timber_joints/frame_joints/frame_joints.php