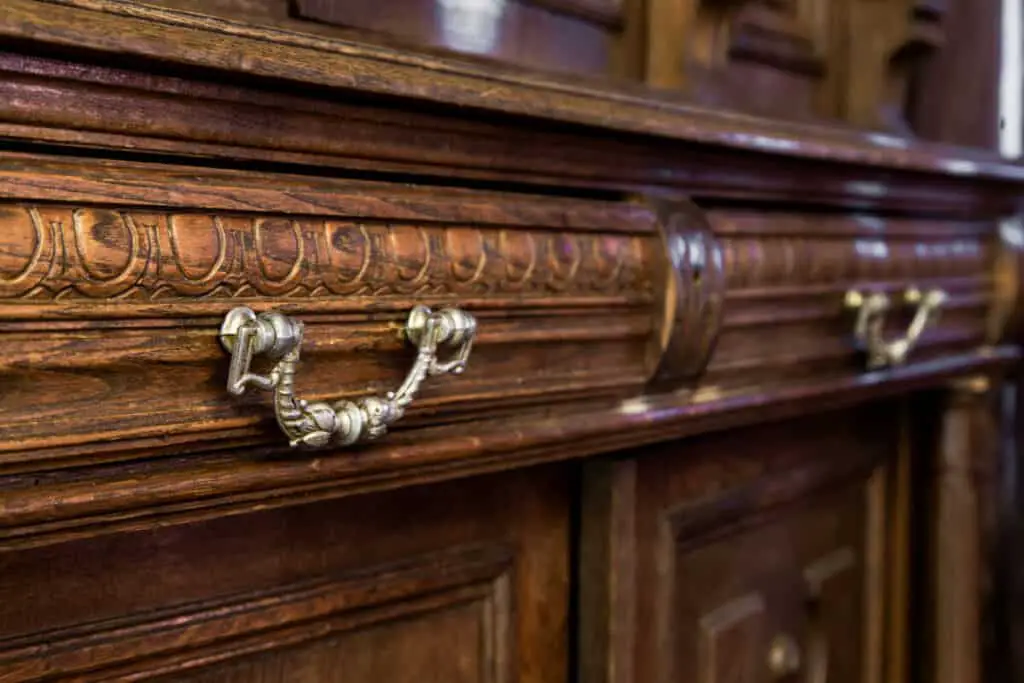
Restoring vintage furniture has become increasingly popular in recent years, and many people have a lot of fun looking through second-hand shops for pieces. Once you find a piece of wooden furniture, it may require some restoration.
To restore wood furniture with surface imperfections and stains, you can strip the finish off to refinish the piece or use alternative methods. Alternative methods include epoxy, petroleum jelly, and a new finish that can make the wood look refreshed and attractive again.
If you want to restore a piece of wooden furniture, there are plenty of methods that do not include stripping the wood. Keep reading to learn how to restore a piece of wood furniture without the messy stripping process.
Cleaning the Wood
There are several steps you must follow when restoring wooden furniture: cleaning, repairing, and finishing. If you follow these steps closely, it will help the whole piece look much better and refreshed in the end. Read the steps described below and determine the proper care for your restoration piece.
The first step in the restoration piece is cleaning the wood. Never skips this step as it will negatively impact the other steps of restoration. In fact, after thoroughly cleaning the furniture, you might decide that it does not need to undergo the full restoration process.
You will need the following material to clean the wood for restoration:
Making sure that the surface of the wood is clean is the first step towards a final product that looks professional. To clean the wood properly, use the mineral spirits and a cloth to rub it in. Doing this over all of the wood will lift the dirt, oil, and dust off the furniture. Once the wood is clean, you can better assess the condition of the furniture and prepare yourself for the deep cleaning process.
After using the mineral spirits, you need to use water, soap, and a sponge to clean the wood. You don’t need any special wood cleaner. Mixing the dish soap you have under your kitchen sink with water will work just as well.
Dip the sponge in the water and soap solution and clean any surfaces that you can reach. Be thorough and scrub well. For tight spaces like joints or moldings, use a toothbrush to remove the buildup of dirt and dust.
Once the piece of furniture is entirely cleaned and dried, you can move on to the next step.
Fixing Damages in the Wood
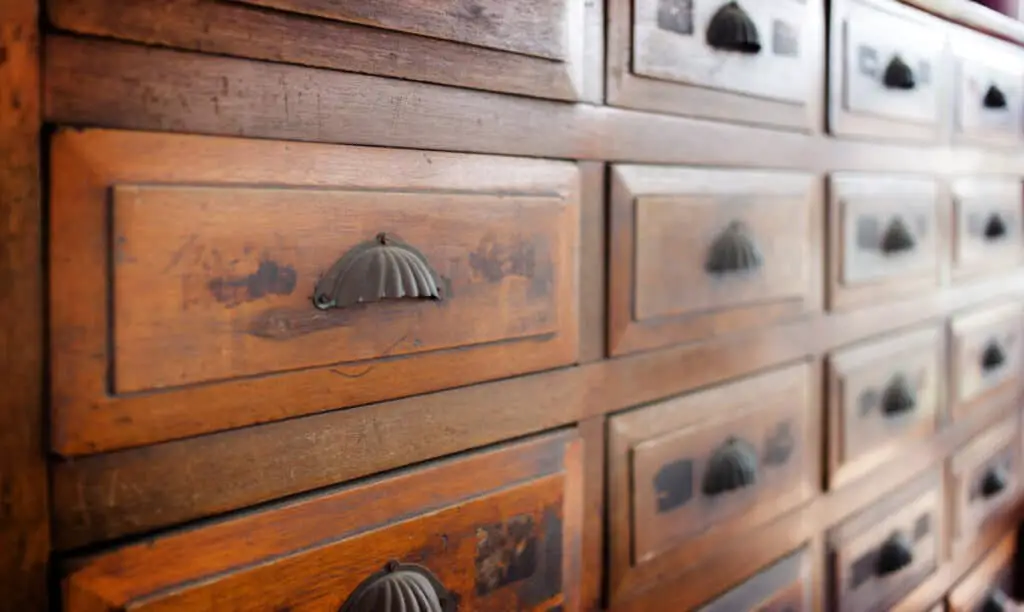
A damaged piece of wooden furniture is not pleasing to look at. Cracks, dents, and white spots detract from the piece’s charm and beauty. Luckily, you can fix all these problems with some simple methods.
Before you start repairing damages in your wood furniture, gather the following materials:
Cracks, Dents, Scratches, and Chips
Though they may seem daunting, repairing the cracks, dents, scratches, and chips in your wood furniture piece is relatively easy. Fixing these imperfections will drastically increase the value of the furniture you are restoring.
When fixing cracks and scratches, you will use wood-colored wax sticks for this repair (wood putty is another acceptable solution for this repair).
To fix a scratch, rub the end of the wax stick over it a couple of times. Once you have filled the crack, use your finger or a cloth to rub the excess wax away. Be careful not to dig into the scratch as you do this. The scratch should no longer be visible.
Follow this same process for cracks in the wood. Rub the stick in the crack to fill it with wax. Rub the excess wax away, and it should be much less visible. When you apply a new coat of varnish, it will appear much smoother because of this step.
To fix dents in the wood, you will need water, a cloth, and an iron. Wet the dent with a few drops of water. Do not over-saturate the wood. Use just enough so that the whole area of the dent can soak up the water. Once the water has saturated the wood, put a cloth over the dent and apply heat with an iron. As the wood fibers heat up, they will loosen to their original shape, removing the dent.
To fix chips in the wood, you need to apply a generous amount of wood epoxy to the space. Use your hands to mold it into the proper shape, and then use the edge of a razor blade to remove the excess. The epoxy will harden after a few hours and will act as a part of the wood!
White Rings
To fix white rings, you need petroleum jelly. White rings appear where the wood has absorbed too much oil. The jelly will penetrate the wood and remove the oils.
Apply the jelly over the white rings and let it sit for 12 hours. Wipe the petroleum jelly off with a paper towel. Fear not, using petroleum jelly will not damage the original varnish.
After completing these repairs, your wooden furniture will look as good as the day you bought it!
Apply the Finish
Once you have fixed any damages to the wood, you are ready to apply your new finish. Though it may surprise you, you need more than just a bucket of finish and a paintbrush for this step.
You will need the following materials to apply the finish to your restored piece of wooden furniture:
With 320 grit sandpaper, gently sand the wood so that everything is smooth and even (you may want a different grit depending on the type of wood). Clean off any dust left behind from the sanding process. You may need to follow the same steps used earlier to ensure no dust remains. If you attempt to apply a new coat of finish over the dust, it will stick to the wood, leaving a bumpy surface, and may even chip the finish later on.
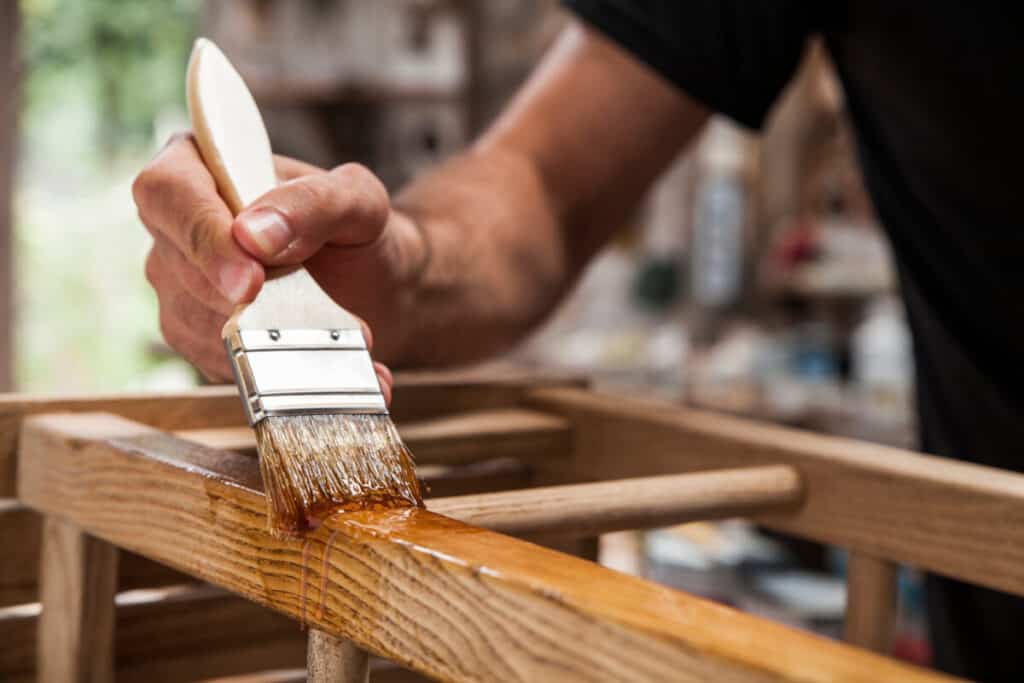
With your clean cloth, apply the varnish or stain of your choice according to the product instructions. Circular motions are often recommended, especially for stains. You can apply as many coats as the wood needs to meet your aesthetic goals.
Remember, the finish you choose should be the same color or darker than the original. If you want to apply a lighter finish, you will need to strip the wood for the color appear correctly. If you want to paint the furniture rather than staining or finishing it, follow the steps in the video below.
Once the finish has dried completely, you are done! You can admire your restored piece in your own home, or you can sell it online.
What is Stripping?
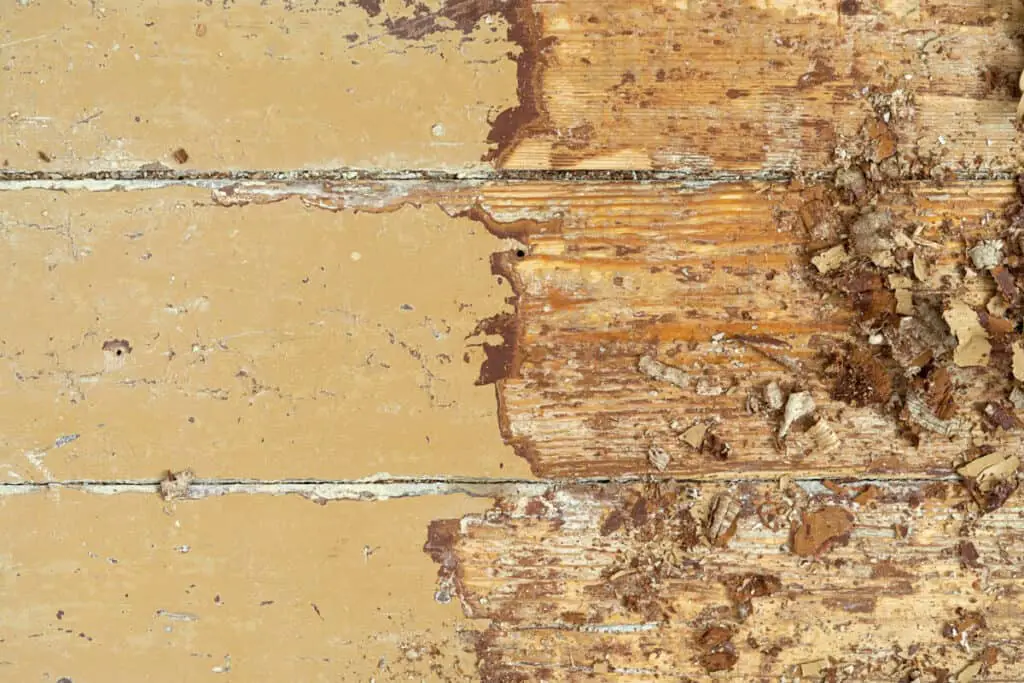
Before deciding whether you want to restore a piece of furniture without stripping it or not, you should understand what stripping even is and what the process would entail. Stripping wood furniture is the process of taking all of the old finish off of the wood. This process is the most effective way to have a clean, fresh wood surface to restore, but it can be very messy and time-consuming.
To strip the old finish off the wood, you first need to apply a stripping agent with an old paintbrush. The stripping agent helps loosen the existing varnish so you can begin removing it. With a putty knife, scrape the loosened finish off any large, flat surfaces. To remove the finish from any hard-to-reach areas, you will need a variety of rough brushes. After getting as much varnish off as possible, you need to sand the wood to make sure that none of the old finish remains.
Stripping wooden furniture is a very long process. Sometimes you have to apply stripper and scrape the wood several times before sanding. However, it does create a clean palette for restoration. Luckily, there are multiple methods for restoring wood without going through the stripping process.
Pros and Cons of Not Stripping
If you do not want to purchase the materials to strip your wood furniture or you don’t have the time for it, you can always opt out of that step in the restoration process. Though alternative methods may have different results, there are still plenty of benefits to avoid the stripping process.
Pros
Whether your wooden furniture has cracks, dents, or white rings ruining the finish, you do not need to strip the wood to get rid of them. This means you can still restore the piece to its former glory without the hassle of stripping.
Another benefit to skipping this step is avoiding the mess that comes with it. Additionally, you can avoid exposing yourself to a variety of chemicals. Need another reason to skip the strip? Consider this, stripping wood furniture, especially if it is vintage, may require professional assistance.
Finally, not stripping the wood allows you to preserve the original varnish and charm of the piece. Some vintage furniture pieces are worth more when not fully restored. Instead, just freshen these pieces up.
Cons
Unfortunately, when you don’t strip the wood, it leaves any dark water spots or extremes cracking in the finish visible. To get rid of these problems, you have to strip the wood. If there are a significant amount of dark spots or peeling in the varnish, you are better off stripping the wood anyway. Additionally, if you intend to lighten the color of the furniture’s varnish, you will need to stip the wood.