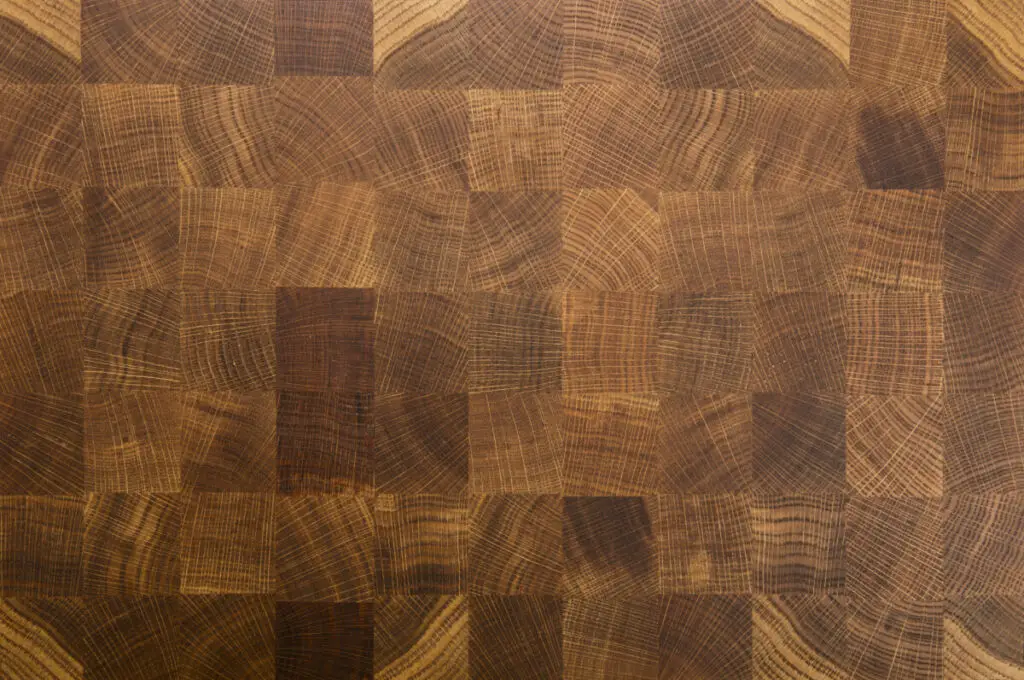
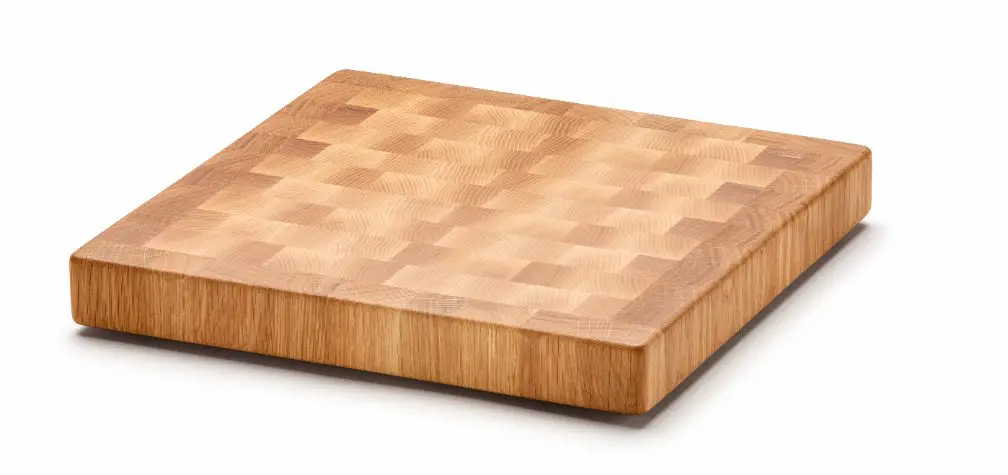
So you’ve just finished putting together your end grain cutting board, but it’s not quite ready to use. It rocks around when you set it on the table and won’t hold still. How do you get it to stay flat?
Flattening an end grain cutting board requires a router, two rails of equal height and width, and a flat working surface. The rails are for keeping the router the right distance from the board, so they have to be straight, flat, and the same width as each other, but wider than the board itself.
Here’s an in-depth walkthrough on how to flatten your cutting board whether you have a handheld router or a table router. Then we’ll look at how to fix a finished board that’s warped after use.
Flattening with a Router
When you need to flatten an end grain cutting board, there are three things that you definitely need: a router, a flat surface to work on, and a pair of rails.
The router can either be a handheld one or set on the table. If it’s handheld, you will also need a router sled that has a slot that’s wide enough for the router and long enough for the router to reach the whole cutting board.
You can use pretty much any flat surface in your workshop as long as it’s big enough and completely flat.
For the rails, you’ll need two pieces of wood that are straight, flat, and exactly the same thickness. Depending on your router setup, these will either guide your router across the cutting board or guide your cutting board across the router bit.
The flat surface, the rails, and the router sled are all flattening components, and it’s important to make sure that that flatness is consistent throughout to make sure that the board ends up as flat as it can be. If one of the components is bowed, the board will end up bowed.
Using a Handheld Router
When you’re using a handheld router, lay down the rails parallel to each other on your flat working surface. Use clamps to fix the rails in place so that they don’t move around while you’re working.
Lay the cutting board on the table between them. Put the router sled on top, perpendicular to the rails. The router will sit in the router sled.
If the board isn’t steady on the table, it will have to be stabilized. To do that, you can stick it to the table with double-sided tape and place shims (thin, tapered wedges) underneath any corners that don’t touch the table. This should make sure that the board doesn’t shift while you’re working.
Set the depth of your router by finding the lowest corner of the cutting board. Let the router down in that spot until the bit makes contact with the board.
If the board isn’t tall enough for the router bit to reach it, you will have to raise it up. You can do this by simply putting a piece of wood in between the board and the work surface. This piece of wood should be flat, but thick enough to bring the board up to the router bit.
Once it’s all set up, you can start using the router to flatten it. Station the sled at the edge of the board and make a pass with the router. After the first pass, shift the sled down and make another pass with the router. Repeat this process until you have gone over the whole board. (Source)
Router Table

If your router is set into the table, the process will be slightly different. You will still need two rails that have straight, parallel sides. The rails will need to be slightly wider than the thickness of your cutting board.
Make sure that the bit on your router table is in good condition: a dirty or dull bit can cause problems like tear-out.
Prop the board a little above the table: a millimeter or two should do it. Then, attach the rails to either side of the board with glue. The purpose of the rails is to keep the board at a consistent distance from the bit so that the end product is completely flat.
Once your rails are secured to the board, adjust the bit height to the largest gap between the board and the table. Then, push one of the rails against the fence and adjust the fence until the bit just touches the edge of the rail.
Turn on the router and pass the board over the spinning bit. After that pass, rotate the board around and do a pass on the other side. This is why it’s so important that the rails are the same width, and it will save you time and space adjusting the fence.
Then, adjust the fence slightly less than the width of the bit, and repeat the process until the bit reaches the center. Flip it over and mill the opposite face. Remove the rails, and then you can sand down your board. (Source)
Straightening a Warped Cutting Board
That’s how you flatten a newly made cutting board, but maybe your problem is with an old cutting board that’s warped, or maybe a recent one has been getting cups in it. If that’s the case, you may need to end up doctoring the board a bit, but not so much that you need to pull out your router again.
Wood doesn’t like to stay flat, so wooden cutting boards will often experience some sort of change over time.
If your cutting board is cupping, you can fix it by putting it in a reverse clamp for a week or so. Spray it with a little water first, and then put it in an over clamp to bend it in the opposite direction. (Source)
Keeping your cutting board in good condition depends a lot on how you use it and how you dry it. If you a cut hot meat on it, it may develop a cup, and then it might correct itself later. Different woods might do different things as well. A good rule of thumb, though, is always to dry it on its side.