As you continue your adventures in woodworking, you might be looking at more complex tasks. These can spark your creativity and provide the challenge of using new techniques to design timeless pieces. In more complex projects, you may have to bend the wood.
How do you bend wood with water? In either method (soaking it in water or using a steam box), choose a suitable wood that is roughly 20mm thick, check the moisture level (ideal at 20-30%), and find a mold that you can clamp the piece to. Bend the wood in the direction of the grain once it is soaked/steamed, and allow it to dry.
Of course, with either of these two main methods, you will need to ensure that you are taking proper precautions to care for your wood. Since it can be a bit tricky to accomplish this for your first time working to bend wood, you will want to be careful not to break the fibers of the wood while bending it with water. Let’s take a closer look at how to bend wood with water using the option of soaking the wood or using a steam box.
At our Cucamonga Woodworking live online workshops we discuss bend and steaming wood at about the 5 minute mark of this video. You can also check out our other past workshops on Youtube Here(Link to Cucamonga Woodworking)
How to Bend Wood with Water by Soaking the Wood
One of the two most common options for bending wood with water includes soaking the wood and then bending it into the shape that you desire to. To bend wood with water by soaking the wood, follow these steps:
- Select suitable wood to work with. Before you can begin your project of bending wood, you will want to select a desirable slab of wood to begin working with in the first place. After all, not all types of wood are the same- especially when it comes to bending wood by soaking it or steaming it.
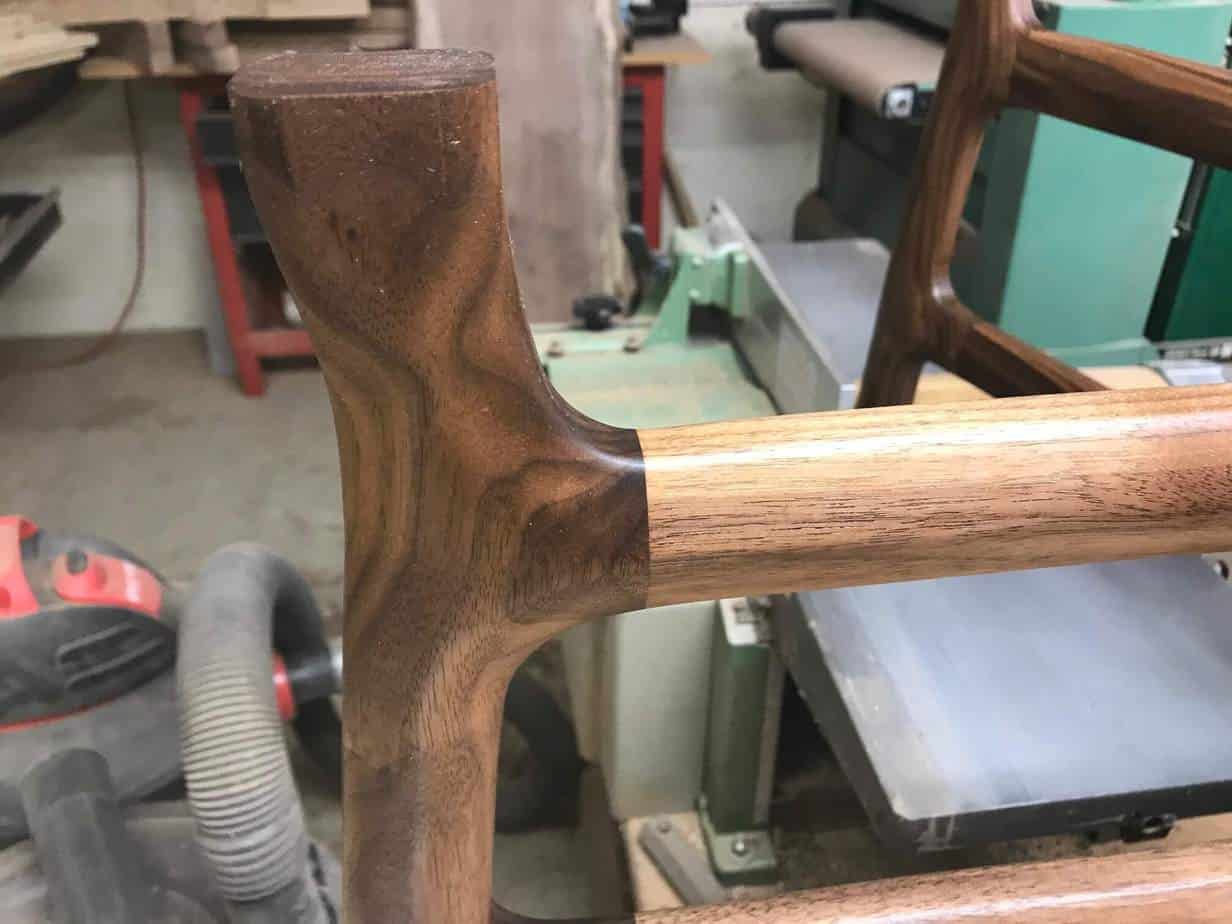
Particularly, you will want to look for wood that is not too thick or too thin as these can be difficult to bend or are susceptible to breaking more easily. An ideal measurement is roughly 20mm thick.
Then, you will want to focus on finding a piece of wood that has a straight grain as wood that is cross-grained is more likely to crack or break during the bending process. The pressure of the bend should go along with the grain of the wood rather than opposed to it.
Ideal types of wood for bending include white oak, hard oak, elm, beech, hackberry, and ash all bend well. Walnut can bend moderately, but it is prone to discoloration at the highest pressure points of the bend.
- Check the wood’s moisture level. Once you have selected the ideal type of wood to begin working with, you will want to check the wood’s natural moisture level. Wood that has a moisture level of roughly 20-30% before beginning the soaking process can be more suitable for bending.
Either way, the moisture level should not exceed 70% during the soaking process. However, you also cannot use wood that is burnt or has a moisture level of less than 10% as you begin bending the wood, as these types of wood are unsuitable for bending and are prone to break.
To check the moisture level, you can use a wood moisture monitor. Just avoid placing this entirely underwater once you begin the soaking process as this device is not meant to be soaked.
- Find or construct a water-resistant container. Now that you have the perfect piece of wood selected for your project, you will need to find or construct a water-resistant container to soak the wood. Ideally, this will be a flat piece that will not affect the wood as it rests in the water.
You can use a variety of materials for this type of container- it simply needs to be able to hold the water to be soaked up by the wood that you are attempting to bend. Thus, it will need to be large enough to move the wood piece in and out of with ease when working with the wood, and it will need to be water-resistant.
- Soak the wood for 24-48 hours. Once you have your wood and container, it is time to soak the wood. Likely, you will need to soak the wood for 24-48 hours, although you can monitor this by checking the moisture levels. Again, you can use your wood moisture monitor to occasionally lift the wood out of the container and check it if you are really concerned, but try to avoid moving the wood if at all possible.
It is best to soak the wood in hot water as opposed to cool water. The hot water will add to the pressure and help to soften the wood. This will permit the wood to be prepped well when it has finished soaking and is ready to be bent.
- Create a mold with a smooth edge. As your wood is soaking, you can begin creating (or preparing it if you already created it) a mold with a smooth edge. The smooth edge is important so that no added pressure points press into the wood as it is bending. Removing any edges is critical for a smooth bending process.
One method is to find an oversized tire and place a piece of sheet metal flat on the surface. Or, if you want a less angled bend, then you can construct the shape of your mold in another way and still use the thin, flat piece of sheet metal as a barrier (like a cookie sheet) between the wood and the mold. This will help to preserve the wood fibers and allow them to bend smoothly.
- Clamp the piece of wood to the mold. After you have thoroughly soaked your piece of wood, it is time to clamp it to the mold and begin the bending process. You can do this in a variety of ways depending on the type of mold you are using to bend the wood.
A few methods include clamping the wood with bolted clamps, using store-bought clamps without molds, or finding something to securely strap the piece of wood to both ends of the mold during the bending process.
- Allow the wood to dry. Now that the wood is bending, it is time to permit it to dry. This can again be checked with the water moisture monitor as the wood should be restored to its original moisture level before you began this project.
Do not apply direct heat over an open flame to dry the wood as this can create an obvious hazard in destroying the wood. If necessary, you can use a heated fan or blow dryer, but try to allow nature to run its course when allowing the wood to dry. It should not take more than a few days max.
Once it is completely dry, you can remove the clamps and begin working on creating your masterpiece from this piece of beautifully-bent wood. Avoid working with the wood before it is completely dry as this could damage the wood or result in a soggy start to your project.
How to Bend Wood with Water by Using a Steam Box
Another method for bending wood using water is to use a steam box. This is another secure way that will allow your wood to be moistened before you begin the bending process. To bend wood with water by using a steam box, be sure to follow these steps:
- Select suitable wood to work with. Selecting a suitable type of wood to work with is the same in the steaming method as it is in the soaking method. See the above directions for this initial step.
- Check the wood’s initial moisture levels. While you will be adding moisture in a different manner, you will still be following the same general guidelines for observing the wood’s initial moisture levels. See the above directions for this step as well.
- Find or construct a steam box. Constructing a steam box is the obviously different component of this method compared to bending wood by soaking it. There are plenty of tutorials for constructing your own steam box, or you can choose to buy one that will work for your project. You can often find these at woodworking shops or hardware stores.
When constructing your steam box, you will want to make sure that there is a place for the steam to be pumped in as well as a small opening that will allow some of the pressure to escape. This will permit the wood to be steamed without being warped inside of the steam box itself.
- Steam the wood. Now that you have found or constructed a steam box that is large enough for your piece of wood to rest in, it is time to steam the wood. Place the wood inside the box, seal the container, and begin adding the steam. Monitor the moisture levels of the wood when needed following the above recommendations for appropriate moisture levels.
As you steam the wood, know that it could take up to 48-hours. However, general estimates include steaming the wood for one hour for every 2.5 cm of wood that is being steamed. It does not usually take more than a day.
However, the steam should reach 212 degrees Fahrenheit or 100 degrees Celsius to work best. The steam that is added will not only be soaked into the wood, but it will soften the wood with the pressure that it adds as well. This will prep the wood for the bending stage.
- Create a mold with a smooth edge. Now that you have steamed the wood, you can begin the bending portion of the project which should look almost exactly the same as the steps in the soaking method. See the above instructions for this step.
- Clamp the piece of wood to the mold. Again, clamping the wood should also look the same for this method. See the above instructions for this step as well.
- Allow the wood to dry. Finally, monitor the wood’s moisture levels and begin crafting your beautiful masterpiece once it has dried. For specific instructions on allowing the wood to dry before working with it, see this step in the above directions.
Happy woodworking!