Is your next DIY project creating a beautiful glass top table? Or maybe you simply need to replace the glass on a table in your home. Whatever the case may be, attaching glass to wood can be challenging.
A glass tabletop can be attached to wood using Velcro mounting tape, clear silicone, epoxy adhesive, or table bumper anti-slip pads. The method chosen will vary depending on personal preference, the durability of the table, and concealing the edges of the glass.
Now that you know the products that you can use to attach glass to wood, you are likely wondering how to use those products. Keep reading to find out how to do this yourself.
Ways to Attach Glass Tabletop to Wood
There are several ways to attach a glass tabletop to wood. We will make sure and go over each one, but make sure you are using a method that will be appropriate for your purposes. Listed below are some of the important things to know about different ways to attach glass and wood.
Velcro Mounting Tape
One method for attaching glass to wood is using Velcro mounting tape. This adhesive tape can stick to most surfaces and mounts instantly. One of the best parts about mounting tape is that it is quick and easy. You will not have to wait for surfaces to dry before or after use.
This adhesive is double-sided, meaning it will stick both to the glass and the wood. Depending on the brand of mounting tape, it can hold between 15 and 38 lbs. To ensure the glass won’t come off your table, use the strongest mounting tape available. Gorilla, Ace, and Scotch all manufacture mounting tape.
To keep your table looking nice, pick a clear mounting tape. The clear tape will not hinder your ability to look through the glass tabletop. For best results, pick weatherproof or waterproof tape. Whether your table is inside or outside, you want the seal to be able to last a long time.
One of the cons of mounting tape is that while it may be clear, you may be able to see the tape depending on the width and how translucent or transparent the glass is. However, this is a cheap way to attach a glass tabletop to a wood table.
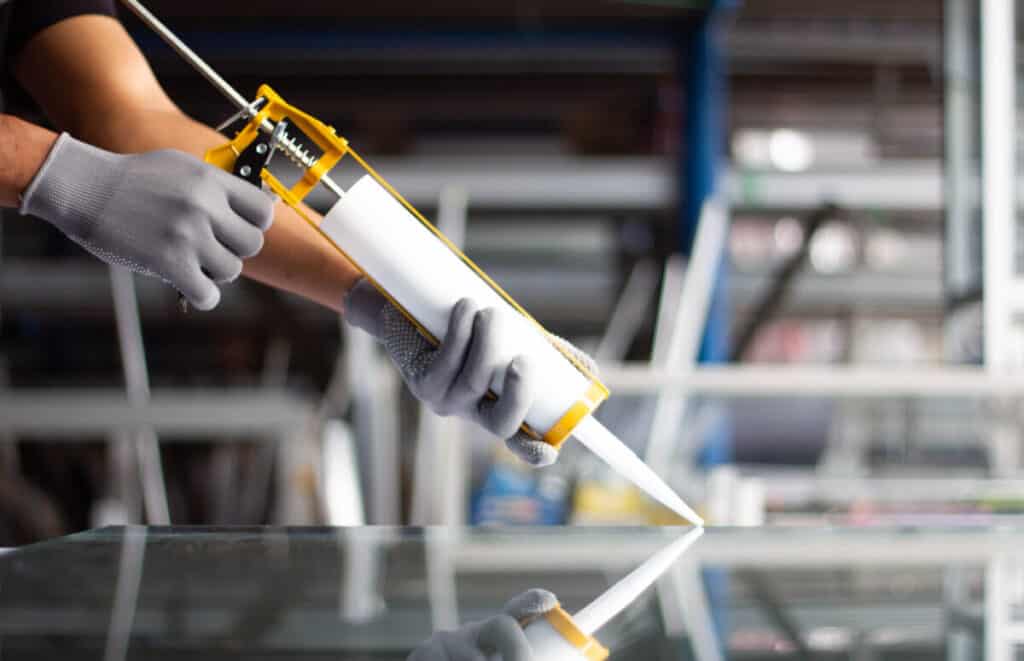
Clear Silicone
Another option that you can use to attach glass to a table is clear silicone. Silicone is usually a colorless oil or a rubber-like substance. For attaching glass to wood, clear silicone is the best option because it can’t be seen through the glass after it dries.
Silicone is used in adhesives and sealants, making it great for attaching wood and glass, as well as medicines, utensils, lubricants, and electrical insulation.
Silicone is known as a PSA, which stands for Pressure Sensitive Adhesive. This means that once the adhesive is applied, it needs pressure to stick. This is helpful if you are placing your glass tabletop directly on top of the wood. If there is not a lot of pressure on the silicone, it may dry, but will not stick as well as you might like.
Silicone needs drying time, typically about 24 hours. When you are attaching your glass tabletop to wood using silicone, remember that silicone can’t be painted and it is very difficult to remove from wood! If you are painting the wood before attaching glass, do all your painting before applying the silicone.
One benefit of using silicone adhesive is that it lasts about 20 years, so the glass won’t come apart from the wood as time passes. However, in the event you need to replace the silicone, it will severely damage the wood when the glass and silicone are removed.
Epoxy Adhesive
Epoxy is created by mixing two starting compounds. One is a resin and the other a hardener. Epoxy is known for its durability and strength. It is great for sealing glass and wood, and helps people create beautiful furniture and tables.
Epoxy adhesives are available in room-temperature and heat cure options. It has great chemical and environmental resistance. If your table has spaces that need to be filled, epoxy is a great option to fill those spaces as it becomes hard and clear when it dries.
Epoxy Adhesive is strong but requires more preparation than the other methods of attaching glass and wood. Follow the instructions on your epoxy carefully to avoid any mishaps.
Table Bumper Anti-Slip Pads
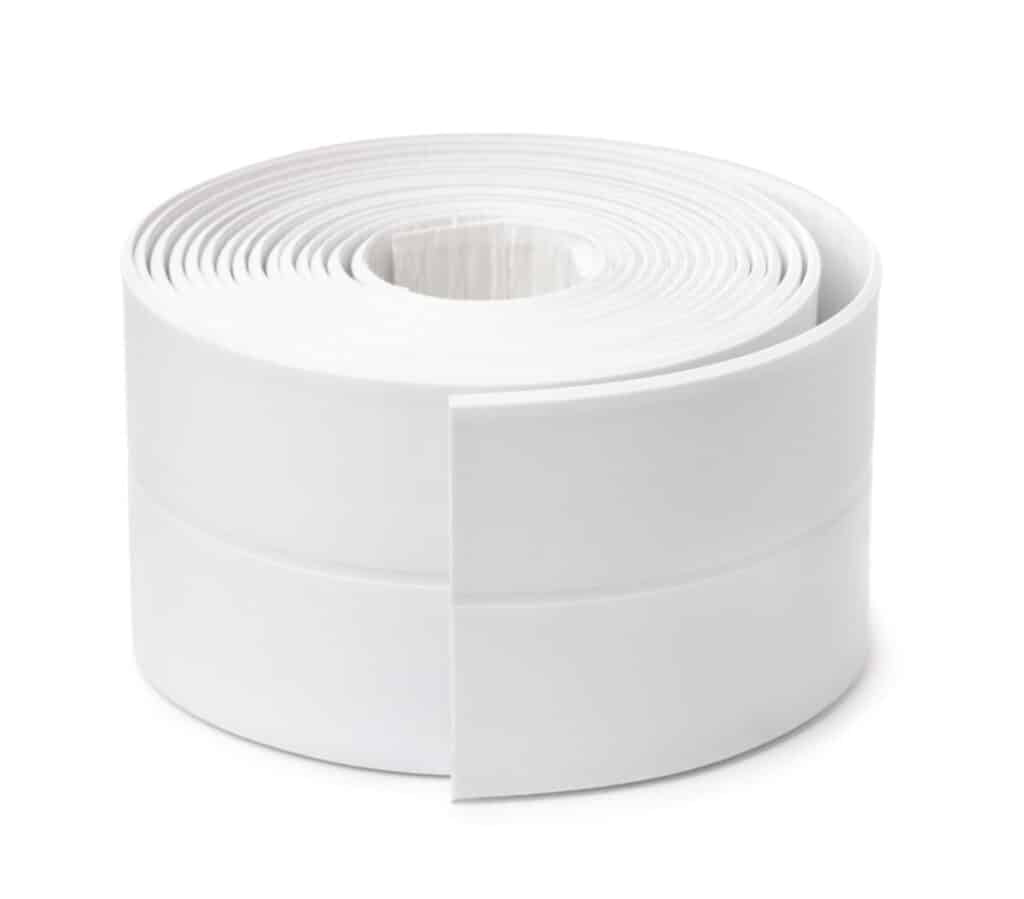
Table Bumper Anti-Slip Pads are one of the most simple ways that you can attach a glass tabletop to wood. Glass tends to be slippery on different surfaces, which is why it needs a way to be attached to another object. Anti-slip pads are a great way to prevent the glass from slipping!
Anti-slip pads are usually made out of clear, non-adhesive vinyl. It has characteristics that help the glass “stick.” The pads are small and come in a variety of thicknesses and sizes. They are usually smaller and round and can be placed under the glass between the wood and the glass top.
These are cheap, extremely simple, and are good to use if you are placing a glass tabletop on top of wood beneath it. If you are wanting to place a glass sheet above the wood, these prevent it from slipping; however, the glass will be raised by the thickness of the pad.
Using these pads will allow you to remove the glass top and be able to clean underneath repeatedly. You may also adjust the placement of the pads as needed or desired.
Table bumper pads can be seen through glass even though they are clear. They also won’t work if your table has a wood stump base.
Designs and Styles
Now that you know many of the ways in which glass can be attached to wood, you will want to consider the size, design, and shape of your table.
There are several different styles of glass top tables. Some of them have wood bases like stumps, others have legs with a platform, and some have wooden frames with a glass centerpiece.
Whichever the case may be, the style of your table is going to determine the best way to attach your glass tabletop.
Glass inserts require different care than placements, and you will need to be aware of glass thickness for the table. Measuring your table width and length, as well as leg sizes, can help you best determine the thickness of glass for your table.
For inserts, it is best to choose a method that is not visible such as silicone, epoxy, or velcro mounting tape.
Questions to Consider
When choosing the right type of adhesive, there are some questions to consider to help you figure out which method is best for you to use with your specific table.
What two surfaces are you bonding?
This will help you understand which type of materials to use. Old wood and new wood can make a difference, as well as how the glass sits on the wood. If the wood is old and has layers of product on it, you will need a stronger adhesive such as epoxy to ensure the glass will stay on the wood for years to come.
Do I need temperature resistance?
If your table is going to be in hot places or have hot things placed on it, this is a question you will want to consider. When using adhesive tapes, you will want to pick one that is not going to “unstick” due to warm temperatures. If you can’t find a temperature-resistant adhesive tape, another form of attachment should be used.
What other conditions should I consider?
Considering other conditions can help you be prepared to make a durable and useful table, as well as one that looks stylish. You will need to be aware of how thick your adhesive tapes should be, how much glue to use, how much weight they can hold, and any other factor that is important to your table and the environment it will be in.
How to: Step by Step
Here are some step-by-step instructions on how to attach a glass tabletop to a wooden base. These are done assuming that you have your wooden base and your glass top!
Supplies Needed: Supplies that may be needed include a rag, cleaner, wooden base, glass top, attachment medium, sandpaper, heavy objects to place on the glass top, a syringe, and a disposable plate or container.
Covering Your Wood Table With Glass
- The first thing you are going to want to do is clean off the wood and glass.
Dust, dirt, hair, paint, sawdust, food, and anything else left on your wood or glass can interfere with the attachment process. If there is debris on your wood or glass, it will prevent your adhesives from forming a strong bond. Use appropriate wood and glass cleaner and a clean rag to prepare your materials. Your table is going to look great!
2. Next, make sure that your glass is the right size.
Because you are placing a glass top over your wood top, the glass needs to fit the table. Overhanging glass can be annoying, painful, and not look as nice! If you do not have the right size, you may need to find a new piece of glass or cut it down. If it is too small, it may stand up above the rest of the wood top and get caught or become displaced.
Choosing a properly sized glass top is more than a matter of style, it is a matter of safety.
3. For a square table, place an Anti-Slip pad in each corner of the table, the same distance apart. For a round table, place Anti-Slip pads around the table, evenly spaced, and one pad in the middle.
4. Place the glass directly on top of the wood base.
You may need assistance on this step! Glass tops can be very heavy. Depending on the size of your table, the glass may need to be handled by multiple people. An extra eye also doesn’t hurt to make sure your glass is on evenly.
Placing a Glass Tabletop On a Wood Base
For this, we are going to use Epoxy Adhesive.
- Just like above, clean both your glass piece and your wooden base. This will prep your glass to attach well!
- Use sandpaper to roughen the part of the wood you are bonding. Rouging the wood will help the epoxy adhesive bond better.
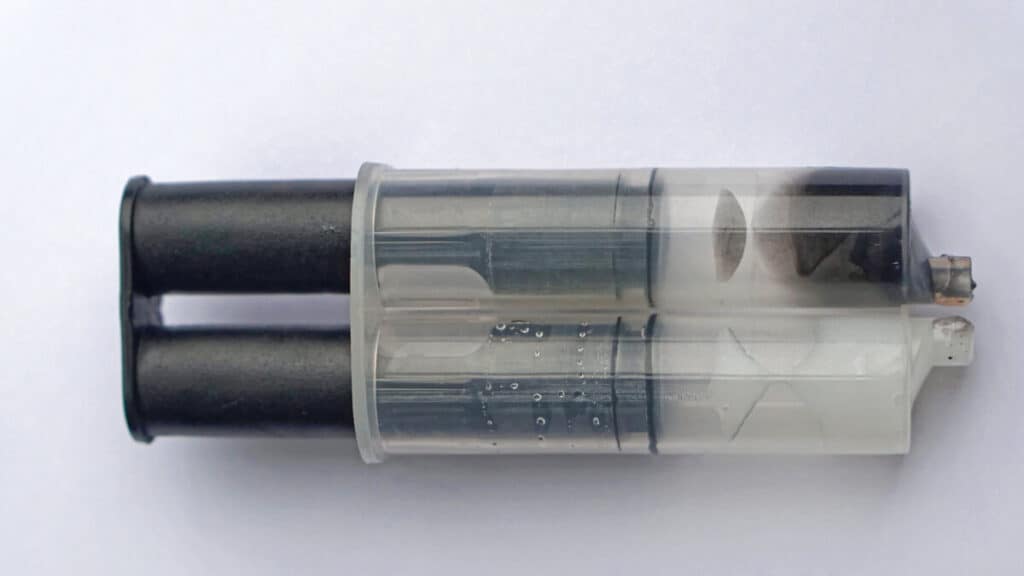
- Prepare your application syringe. Because Epoxy Adhesive has two parts to it, you are going to need to mix them and then apply them to your surface. Preparing the syringe beforehand hand makes the process smoother and quicker.
- Find a disposable bowl, plate, or container to mix the epoxy.
- Mix epoxy quickly.
Following the instructions on the epoxy package, mix the two parts of your adhesive epoxy. Be sure to wear gloves and do not breathe concentrated fumes. You might consider wearing a mask and safety goggles while applying the epoxy.
6. Using the application syringe, apply a small amount of the epoxy adhesive to the wood, spreading evenly.
7. Place the glass tabletop on top of the wood and press down. Remove any excess adhesive from the edges. This is going to start binding the wood to the glass top.
8. Let it dry.
It should dry quickly; however, you should wait 24 hours for the adhesive to bond.
Points to Remember
For many of these attachment methods, there are some things to remember to keep your glass and wood looking nice.
When putting a glass top on top of a wood table, remember that adhesives can damage wood, and anti-slip pads may wear on the wood finish. Moving them around can help prevent wear and damage to certain areas of the wood.
Wood benefits from airflow. There are benefits to using spacers with your glass top such as preventing warping. Warping happens when moisture can only penetrate the table from one side. Because glass seals in the moisture, the table may warp and the glass can break. Slight spacing between wood and glass can prevent this from happening.
When working with glass, padding may be helpful in reducing scratches to your glass tabletop. Be gentle with your glass tabletop. Felt strips can be used to prevent the wood from scratching the glass.